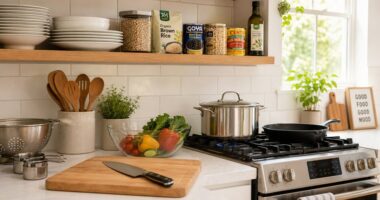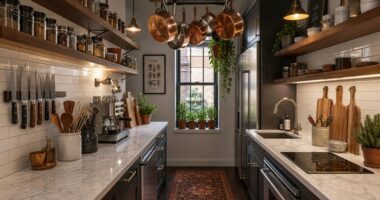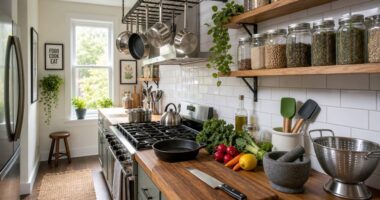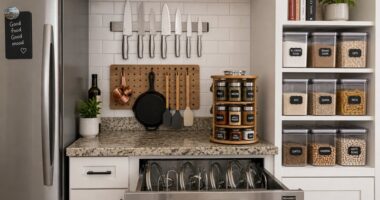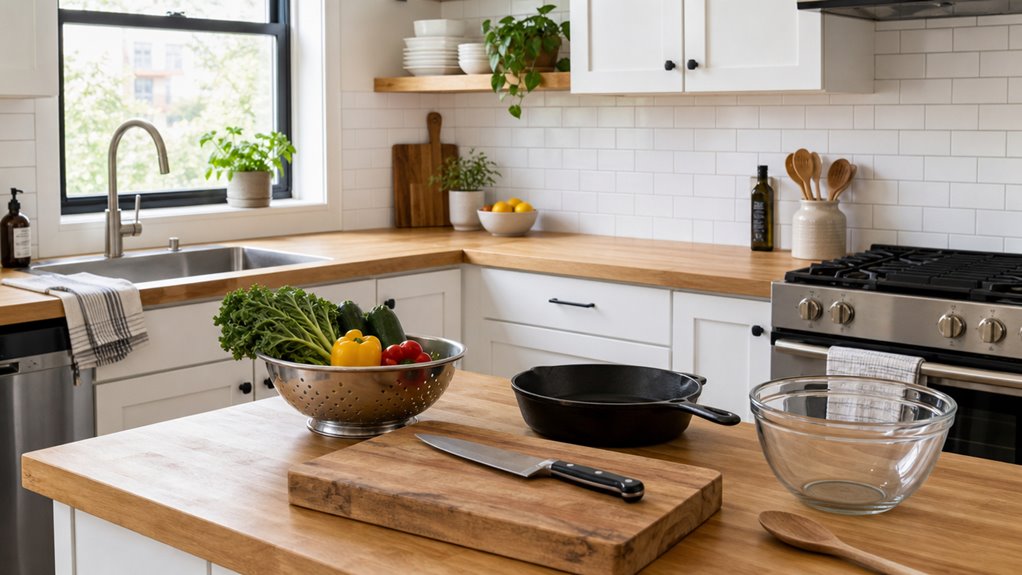

Stocking a first apartment kitchen requires selecting a core set of tools that handle the widest range of everyday cooking tasks without exceeding a tight budget. A small, well-chosen collection typically covers around 80 to 90 percent of daily meals.
- A chef’s knife handles chopping, slicing, and mincing across nearly every recipe a home cook encounters.
- A nonstick skillet handles eggs, sautéed vegetables, and simple stovetop dishes on a single, easy-to-clean surface.
- A cutting board protects knife edges during prep work, and a bamboo board reduces blade wear compared with harder surfaces such as glass or stone.
A basic measuring-cup set gives cooks accurate portion control for both dry and liquid ingredients. Accurate measuring reduces waste and improves consistency, particularly for newer cooks building foundational skills.
A 3-quart sauté pan handles soups, pasta, and one-pot meals that would otherwise require multiple pieces of cookware. Pairing it with a nonstick skillet means two vessels cover a broad range of cooking methods.
Single-use gadgets and large appliances add cost and counter clutter before a cook understands their actual habits. Purchasing those items after a clear need emerges keeps the setup lean and functional.
Kitchen tools designed for multiple uses, such as a chef’s knife replacing a dedicated slicer, a mincer, and a chopper, typically reduce the number of items a first-time cook needs to purchase by a significant margin compared with gadget-heavy setups.
Cheap or expensive is the wrong question. Cost per use is the honest one. Check out our new Calculator.
Cost-Per-Use Calculator →Key Points
- Buy a sturdy 8‑inch chef’s knife, bamboo cutting board, and an 8–10‑inch nonstick skillet first; they cover 80‑90 % of daily prep and cooking.
- Add a 3‑qt sauté pan and a medium pot next; they handle soups, pasta, and batch‑cooking without taking much space.
- Invest in multitaskers like a cast‑iron skillet or 5‑qt Dutch oven only after you’ve used basic pans regularly.
- Defer single‑use gadgets (avocado slicer, garlic press) and specialty appliances (stand mixer, air fryer) until they’re used at least three times a month.
- Track cooking habits for 2‑4 weeks; purchase additional tools only when a clear, recurring need appears.
What Your First Apartment Kitchen Truly Needs on Day One
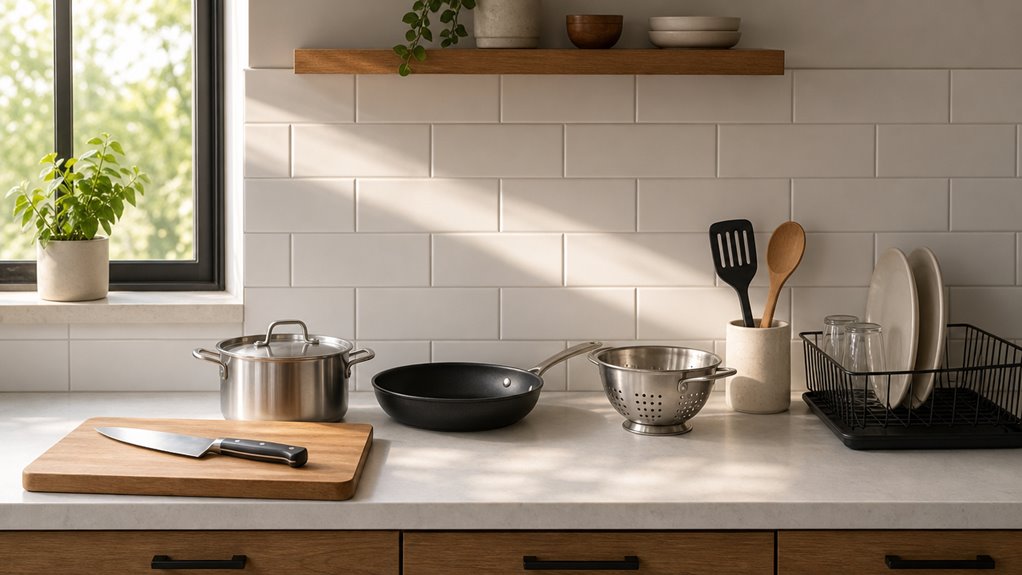
A first apartment kitchen needs only a few foundational tools to handle most everyday cooking: a chef’s knife for prep work, a 10-inch skillet with a lid for stovetop meals, and a cutting board that gives you a stable surface for both.
These three items cover breakfast, dinner, and basic baking without requiring additional equipment on day one. Boxed starter sets often include thin pans and redundant gadgets that inflate the upfront cost without improving what you can actually cook.
Keeping the initial setup small also solves a practical storage problem, since most first apartments offer limited cabinet space. Staying within a budget tier of under $30 per item leaves room to add specialty tools once your cooking habits become clearer.
The details that follow address how to evaluate each essential piece before you buy. Non-stick pan is especially useful for brunch fare because it reduces the need for added oils and simplifies cleanup.
The Handful of Tools That Cover Almost Every Meal
The kitchen you’re setting up can start with just a handful of multitaskers, because most meals boil down to chopping, heating, and mixing.
A solid 8‑inch chef’s knife paired with a sturdy cutting board handles every prep job, from slicing tomatoes to dicing onions. You’ll rarely need another blade.
Add a 10‑inch nonstick skillet; it handles eggs, sautéed vegetables, and seared protein on a single easy-to-clean surface, and a lid lets you steam or braise without extra cookware.
A medium pot covers boiling pasta and simmering soups, while a sheet pan tackles roasting and reheating.
Finally, keep a basic measuring cup set, a medium mixing bowl, tongs, and a spatula on hand.
These pieces cover breakfast, lunch, and dinner without crowding a small kitchen.
A sturdy cutting board ensures safety and stability while you work.
Why Starting Small Beats a Boxed Starter Set
A handful of multitaskers beats a 30‑piece starter set because you’ll actually reach for a chef’s knife, a nonstick skillet, and a cutting board every day, while most of the bundled gadgets sit idle in a drawer. In a first apartment kitchen, a lean starter kit saves counter space, cuts waste, and lets you spend on quality tools that survive daily use. You’ll avoid the filler that clutters cabinets and the cheap nonstick that dulls in months. As habits form, you can add specialty items only when a real need appears, keeping cash flow smooth and your space tidy.
| Item | Why it matters |
|---|---|
| Knife | Cuts safely, handles most prep |
| Skillet | Sear, bake, fry, fits stovetop and oven |
| Cutting board | Protects surfaces, supports chopping |
The Buy-Now Essentials That Earn Their Place Immediately
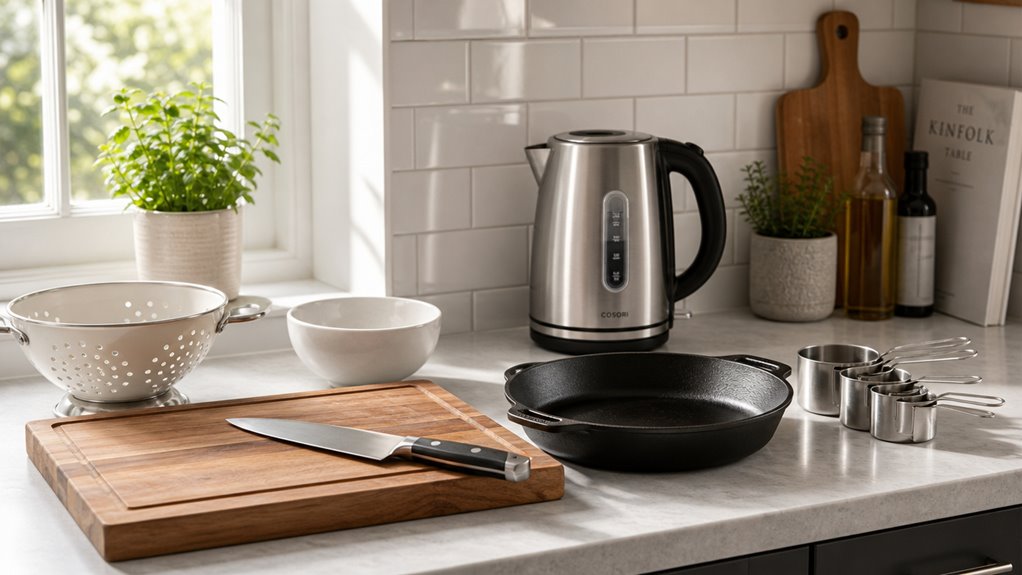
A functional kitchen depends on a small set of tools that handle daily tasks without demanding extra storage or specialized skill: a sharp 8‑inch chef’s knife, a sturdy cutting board, and a 10‑inch non‑stick skillet cover the range from chopping vegetables to frying eggs.
Cast iron adds a layer of versatility that thinner pans typically can’t match, moving from stovetop to oven while retaining heat through the cook. It does require seasoning and carries more weight than standard starter cookware, which affects how easily it fits into a daily routine.
Basic utensils round out a setup that stays practical without accumulating clutter: a spatula, tongs, and a can opener. The sections ahead examine what separates tools that earn their place from those that do not. Consider using a can opener for opening canned goods without hassle.
Knife, Board, One Versatile Pan, and the Daily Basics
Start with a solid chef’s knife, a sturdy cutting board, and a 10‑inch nonstick skillet, and you’ll cover almost every prep and cooking task in a first‑apartment kitchen.
One good chef’s knife handles chopping, slicing, dicing and mincing; a high‑carbon stainless blade stays sharp longer, but you’ll need to hone it often. Standard European pointed style describes the tip shape, not a safety feature; knuckle clearance comes from blade height instead.
Choose a 12×18‑inch board: wood is gentle on the edge, plastic is dishwasher‑safe, and the downside of wood is that it can warp if soaked.
The nonstick skillet lets you fry eggs, sauté veggies and sear protein without fuss, yet it can’t achieve the deep browning a cast‑iron pan offers.
Together these items form the core of first apartment kitchen essentials, saving drawer space while tackling daily meals.
Why a Single Cast Iron Skillet Outperforms a First-Apartment Cookware Set
Grab a sturdy cast‑iron skillet and you’ll cover searing, sautéing, shallow frying, baking, roasting, and even broiling without adding a dozen extra pans.
A single cast iron skillet replaces the fry‑pan, baking dish, and roasting pan you’d find in a first apartment cookware set, so you save cabinet space and avoid clutter.
Its thick walls hold heat, giving you steady temperature for crusty steaks or even cornbread, and the pan stays hot when you add cold food, unlike thin aluminum pieces that wobble.
It works on gas, electric, glass, and most induction tops, so you won’t need a specialty pan for each cooktop.
The drawback is weight; you’ll need a sturdy hand to lift and store it.
How to Phase First Apartment Purchases Now Versus Later
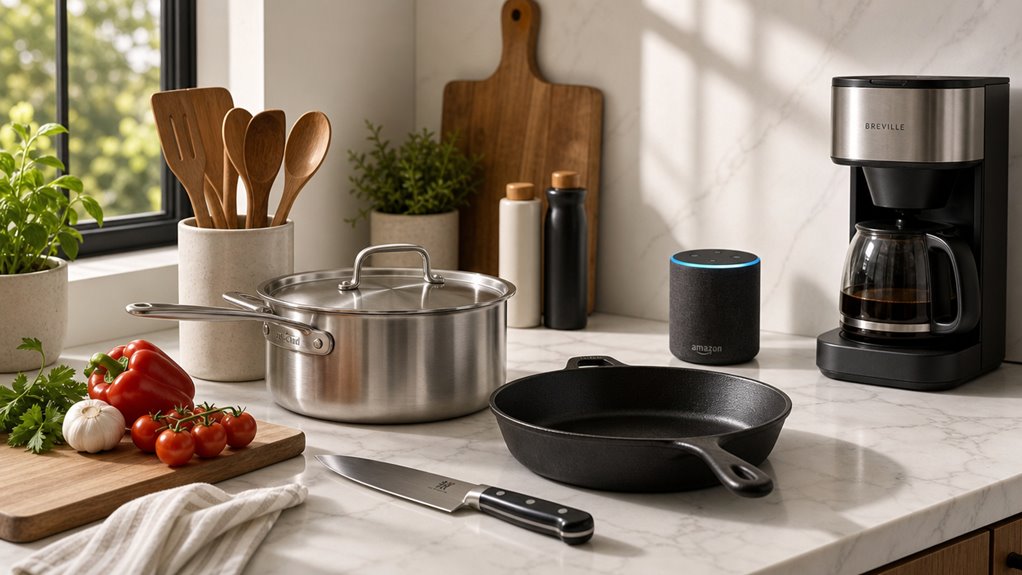
Phasing first apartment purchases means buying only what you’ll use immediately and deferring everything else until a clear need develops.
Three essential kitchen tools cover the majority of daily cooking tasks and justify their space from day one: a chef’s knife, a cutting board, and a non-stick skillet.
Specialty appliances such as a stand mixer or an air fryer occupy counter space and sit unused unless a specific cooking habit already exists.
Watching your own patterns over the first weeks reveals when a habit has become consistent enough to warrant a dedicated tool, such as weekly soup making or regular weekend roasting.
The sections ahead break down how to apply this timing logic across every area of a first apartment.
The Specialty Tools That Can Wait Until You Cook More
When you’re stocking a tiny first‑apartment kitchen, the bulk of your cooking will be handled by a solid knife, a versatile pan, and a cutting board, so the rest can wait. Specialty tools belong in the “later” pile; they’re useful, but you’ll barely touch them until habits form.
A single‑use gadget like an avocado slicer just adds clutter when a paring knife does the job. A stand mixer sits idle until you bake weekly, so a hand whisk or basic blender suffices now. Keep your space lean, then add pieces as gaps appear.
- Bundt pan or springform pan – rare for everyday baking
- Mandoline slicer – speed vs. storage and safety trade‑off
- Wok or crepe pan – specific cuisine, not essential for stir‑fry basics
- Silicone baking mat – replaces parchment, but adds another item to store
- Ice‑sphere mold – fun for drinks, but not needed for daily cooking
Reading Your Own Habits Before the Next Purchase
Often you’ll find that the tools you reach for most are the ones that fit your daily routine, not the gadgets you admire on Instagram. First, map current cooking & eating habits before buying. Track meals for two to four weeks, note stovetop vs microwave use, and log how often you store leftovers. That data tells you which items belong in your buy now vs buy later kitchen list.
| Habit | Frequency | Suggested Timing |
|---|---|---|
| Breakfast prep (toast, coffee) | Daily | Buy now |
| Simple stir‑fry or pasta | 3‑4 times/week | Buy now |
| Specialty baking | Rare | Buy later |
Use the table to see where your routine creates gaps. If a tool isn’t used three times in a month, postpone it. Keep storage limits in mind; a small cabinet can hold a knife, pan, and board, but not a stand mixer. Re‑evaluate every few months as your cooking confidence grows.
The Buy-Later Tools and Why They Are Rarely Urgent
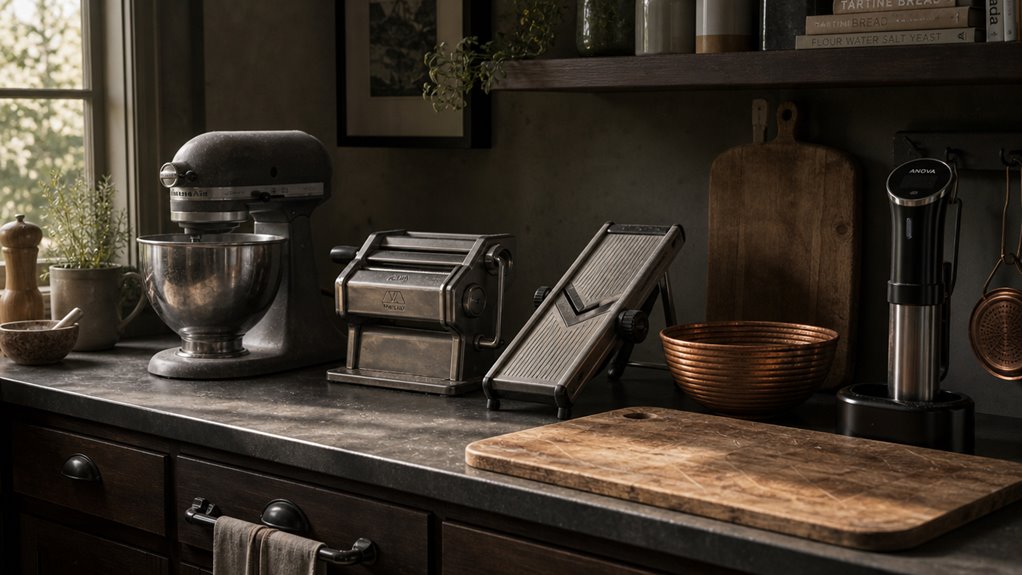
Buy-later kitchen tools are items that serve a narrow or occasional purpose and can be added to a cooking setup only after a clear need emerges from regular use. A chef’s knife already handles chopping, slicing, and mincing, which means single-use gadgets like avocado slicers or garlic presses duplicate that capability without adding meaningful function to daily cooking.
Specialty appliances such as a stand mixer or air fryer follow the same logic: their value depends on whether a cook’s routine actually calls for them, not on their presence in the kitchen from the start. Clutter accumulates when tools are purchased for hypothetical tasks rather than established habits, making delayed acquisition a practical approach rather than a compromise.
The factors that determine when an optional tool earns its place on the counter are worth examining in detail.
Stand Mixers, Single-Use Gadgets, and Nice-to-Haves
If you’re tight on counter space and cash, it makes sense to push a stand mixer, single‑use gadgets, and fancy baking accessories into the “buy‑later” pile. They cost a lot, take up a big footprint, and often duplicate what a whisk or hand mixer can do. Most of the time you’ll reach for a knife, a skillet, and a wooden spoon. When your cooking habits settle, you can evaluate whether the extra capacity justifies the price and space.
- stand mixers and similar run several times the cost of a basic hand mixer
- single‑use gadgets like avocado slicers replace a knife but add clutter
- specialty bowls and attachments cost extra and stay idle
- mini‑waffle irons or quesadilla makers take drawer space while a skillet handles the same tasks
- decorative baking tools (pastry cutters, piping sets) are nice but not necessary for everyday meals
Why a Chef’s Knife Comes First and a Stand Mixer Can Wait
Putting the stand mixer and the pile of single‑use gadgets on the back‑burner feels natural after you’ve already decided they’re more “nice‑to‑have” than “need‑to‑have.”
What really moves the needle in a tiny first‑apartment kitchen is a solid chef’s knife. A chef’s knife covers 80‑90 % of prep: chopping, dicing, slicing, and even light butchery, so you can skip a drawer full of specialty blades. It’s balanced, 7‑8 inches long, and fits a small counter without crowding. An entry‑tier forged, full‑tang blade lasts a decade with hand washing and occasional sharpening, and stays within the budget ceiling.
A stand mixer, by contrast, sits idle after a few recipes and adds noise, space, and extra cost. Prioritize what to buy for a first apartment kitchen: knife first, mixer later.
How to Build the Kit Without Wasting Money
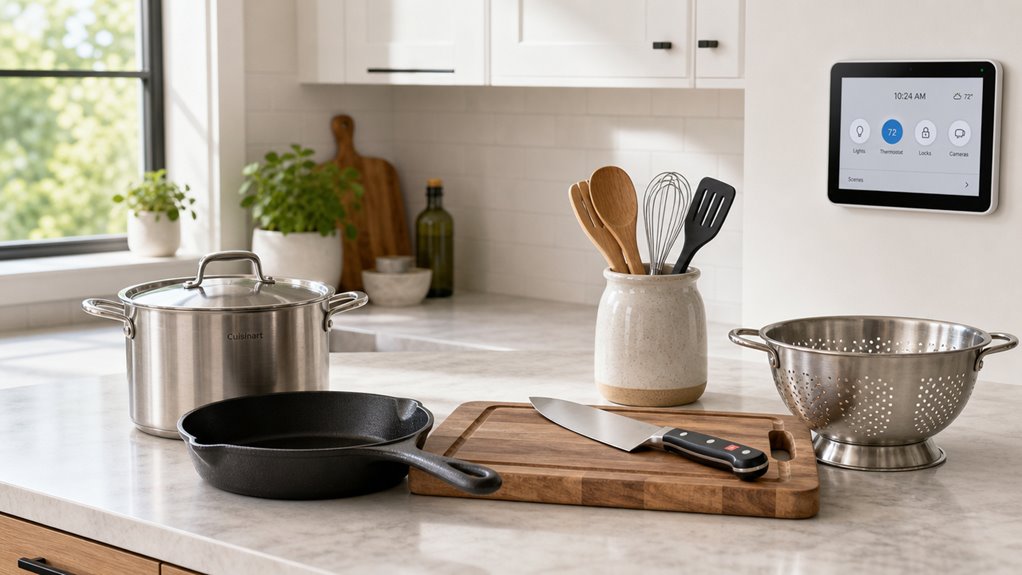
Building a kitchen kit without wasting money means starting with tools tied to daily cooking habits. A chef’s knife, a versatile pan, and a cutting board cover most tasks and justify their cost immediately.
Specialty gadgets, by contrast, tend to sit unused because they solve problems a cook encounters rarely, if at all.
Adding pieces incrementally, only when a clear gap appears (such as needing a larger pot for soups), keeps spending in check and the kit functional rather than cluttered.
Staying within a budget ceiling on each new purchase, rather than buying a full set upfront, reduces the risk of owning tools that never earn their place.
The sections that follow break down how to apply this approach across every stage of the process.
Spacing Purchases to Match Real Cooking
Start by counting the tools you actually reach for each week, then buy only those that cover the meals you’re already making. Your first apartment cooking basics should grow from a minimalist kitchen starter, not a box of unused gadgets. Track two‑to‑four weeks of real cooking, then add a piece only when a clear gap appears. This pacing keeps cost per use low and drawer space low.
- Chef’s knife, cutting board, and a 3‑qt sauté pan – used daily, cover most recipes.
- One pot for boiling pasta or soups – versatile, replaces a whole set.
- Sheet pan for roasting veggies or baking a sheet cake – stackable, easy to clean.
- Simple utensils (spatula, ladle, tongs) – one of each, no duplicates.
- Basic measuring cups and spoons – essential for any recipe, takes minimal space.
Matching First-Apartment Essentials to the Under-$30 Ceiling
Trim the kit to tools that actually survive daily use and stay under the $30 ceiling each. Start with a durable 8‑10 inch nonstick skillet, and avoid the cheapest pans that warp quickly.
Pair it with an entry‑tier chef’s knife; it holds an edge longer than dollar‑store blades, yet it still needs occasional honing.
Add a bamboo cutting board, sturdy enough for chopping but prone to moisture if left wet.
A silicone utensil set covers spatula, spoon, turner, and ladle, though the handles can melt if exposed to high heat.
Finally, a measuring cup and spoon set gives accurate portions, but plastic versions may stain over time.
| Item | Example cost range |
|---|---|
| 8–10 inch nonstick skillet | $20–$28 |
| Entry-tier chef’s knife | $15–$30 |
| Bamboo cutting board | $10–$15 |
| Silicone utensil set | Under $25 |
| Measuring cup and spoon set | $12–$18 |
These highest‑value tools under $30 cover most meals without excess.
Frequently Asked Questions
How Many Utensils Should I Keep on the Counter?
You should keep about eight to ten essential utensils on the counter, just enough for daily cooking without crowding. Use a single holder, store the rest in drawers, and replace any tool you rarely reach for.
Can I Replace a Stand Mixer With a Handheld Whisk?
You can swap a stand mixer for a handheld whisk. It handles light beating and folding, yet it’ll struggle with thick doughs or large batches, so plan upgrades as your habits grow.
What’s the Best Way to Store a Cast‑Iron Skillet?
You should wash, dry, and lightly oil your skillet, then store it in a dry spot with a paper towel or cloth between any stacked pieces, keeping lids slightly ajar for airflow.
Do I Need a Separate Pot for Pasta or Can the Pan Double?
You can double‑up: use a medium sauté pan for small pasta batches, then add a larger stockpot when you need volume. Start with the pan, upgrade only when you outgrow it.
How Often Should I Upgrade My Chef’s Knife?
You should replace your chef’s knife every 5‑15 years, depending on how often you cook and how well you maintain it; watch for persistent dullness, chips, thinning, or a loose handle.
Conclusion
You’ve got the basics covered: a sharp chef’s knife, a sturdy cutting board, and a versatile skillet. Those three tools let you slice, sauté, and boil without crowding the counter. Add a pot for pasta and a simple saucepan for soups, and you can handle most meals. When the budget allows, bring in a second pan or a modest blender, but only if you actually need them. Build the kitchen step by step, and let each new tool earn its place.

Michael Haralson is an author, analyst, and founder of MHaralson, a publishing company. He spent five years with a San Diego catering company, cooking for events of up to 600 guests and working part-time in the main kitchen. He writes about the balance between kitchen tools that cost too much and those that fail too soon.