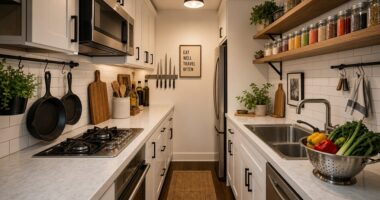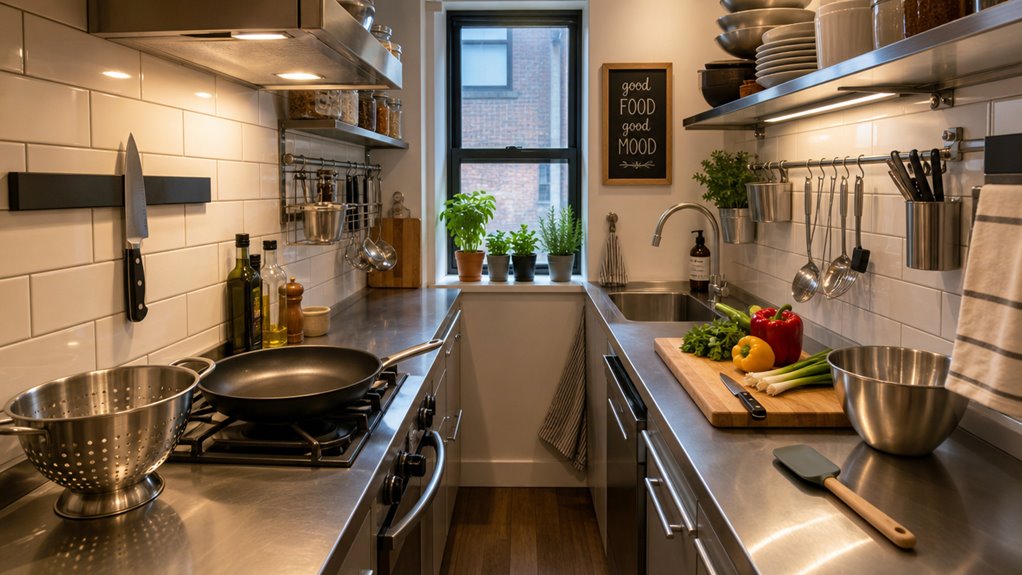
Galley Kitchen Essentials Under $200 Total: A focused budget delivers a fully functional cooking space without clutter or waste.
- Victorinox Fibrox Pro Chef’s Knife — a Swiss-made blade that handles 90% of daily prep tasks
- Lodge L8SK3 Cast Iron Skillet — an American-forged pan that sears, bakes, and fries with equal authority
- OXO Good Grips 3-Piece Utensil Set — a reliable trio that covers stirring, flipping, and serving without redundancy
The Day-1 Core costs roughly $70 and contains three named tools. The Victorinox Fibrox retails near $35 at stores like Williams Sonoma or local kitchen shops such as Sur La Table. The Lodge L8SK3 runs approximately $25 at Ace Hardware or regional cookware retailers. The OXO utensil set adds $30 and rounds out the foundation.
Months one through three reveal real cooking habits. That window justifies spending roughly $50 on a hardwood cutting board, a light ceramic honing rod, and wall-mounted magnetic storage. Local kitchen supply shops often stock all three items under one roof.
A single specialty tool earns its place at week 12. It costs near $30. It solves a proven gap. It does not arrive inside a bundle that crowds the counter.
Interesting Fact: The galley kitchen layout originated on naval ships, where compact efficiency was a matter of survival, not preference.
Key Points
- Build a day-1 core under $70: a reliable chef’s knife, one durable cast-iron skillet, and a small utensil set.
- Use a piecewise upgrade plan: add about $50 in 1–3 months for board, honing/rod, and simple storage.
- Prioritize heat retention and grip reliability: choose Lodge cast iron for consistent searing and reheating.
- Avoid clutter and low-quality gadgets: skip appliance bundles and buy only what matches your weekly cooking rhythm.
- Reserve the final ~$80 for specialty items earned through use, like a kettle/coffee tool or an enameled Dutch oven.
What “Under $200” Actually Buys for a Galley Kitchen
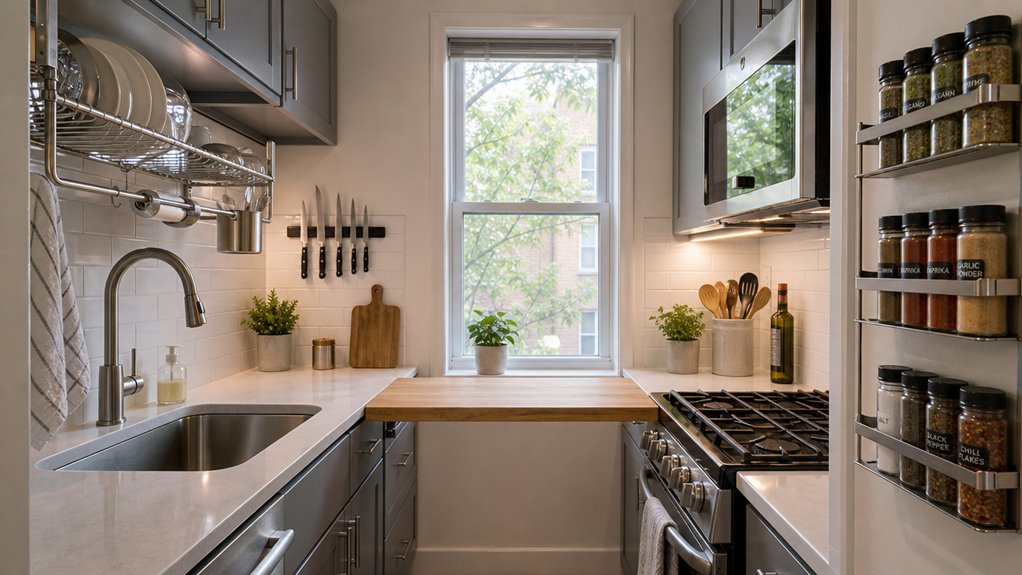
When you see “under $200” for a galley kitchen, you’re usually buying function and space—leftover wood or a cheap cabinet box, a basic countertop (often doing the job of a backsplash too), and maybe a simple sink setup—so you don’t get luxury finishes or a full appliance package. If you try to do it all at once with a $200 bundle, you’ll often end up with a lot of short-lived, low-quality extras instead of the 8 lifetime-ownership tools a piecewise plan builds toward. The honest math is that you can cover day-1 basics for about $70, then add about $50 in the 1–3 month window once you know your habits, and only add the last ~$80 specialty when you’ve actually earned it. A minimalist setup prioritizes absolute necessities so a small boat galley stays practical. If you want your kitchen to actually work long-term in the field, Jetboil is the kind of “small but repeatably useful” tool that covers quick coffee and fast water heating without turning setup into a whole production.
The Under-$200 Budget That Builds a Real Kitchen (Not a Bundle)
What actually fits in an under-$200 galley kitchen—and works after the first week? You build galley kitchen essentials from a simple pot, one skillet, one sharp chef’s knife, and multi-use cookware. Avoid bundle clutter.
Keep always | Why |
| — | — |
|---|---|
| Pot + pan | Covers most meals |
| Cutting board | Prep space |
| Utensils | Everyday grip |
| Knife | Fast, safe cuts |
Adding a Magnetic Knife Block helps keep your knife secure and ready in a tight galley, so you’re not reaching into drawers while cooking. Space-saving galley storage—including foldable bowls, foldable sieves, and lockable drawers/lockers—helps keep provisions organized and accessible even in rough conditions.
Why Piecewise Buying at $200 Outperforms $400 Bundles
You don’t actually need a $400 “starter bundle” to get a working galley kitchen. With piecewise purchasing, you spend about $200 on core, upgrade-by-need tools instead of paying margins for unwanted gadgets. Budget bundles usually crowd counters and fail at different times. You get fit, quality, and lower long-run cost by choosing each part intentionally:
- Knife strip storage
- Cutting board
- Ceramic honing rod
- Basic cookware core
- Earned Dutch oven
Piecewise buying helps you avoid the risk of selecting an appliance that doesn’t meet needs and prevents paying for features you won’t use.
Why $70 Now + $130 Across 6 Months Beats $200 All At Once
Galley kitchens don’t need a “buy everything at once” budget to feel usable. With your galley kitchen budget, spend $70 first on one clear pain point: lighting, a cutting surface, or a magnetic strip. Then do staged purchases with $130 over 6 months for storage organizers and small appliances. This lets budget-friendly upgrades match what you actually use, reducing misfit buys. Because toe-kick drawers ($150–$400 per drawer) add high-access storage for flat items without eating into your narrow walking space, they’re one of the best “small footprint” wins to plan for in the second phase. Labor rates directly impact total remodeling costs, so spacing upgrades over time can help you prioritize what to install first and avoid paying for bigger changes before you’re sure of your needs.
The $70 Day-1 Toolkit (Where Galley Setup Starts)
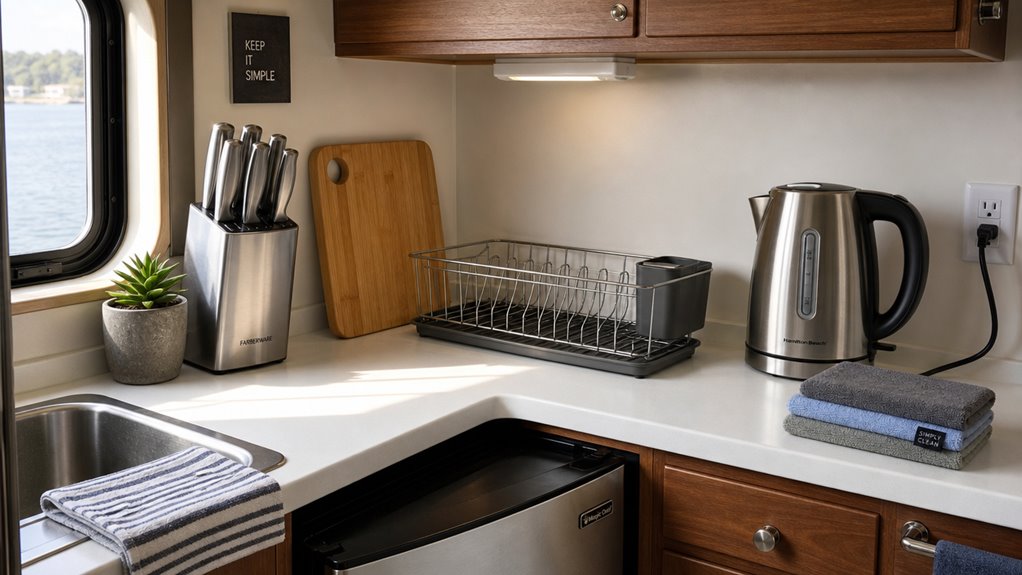
For day 1, you can get your core cutting and cooking setup under $70 with a Victorinox Fibrox chef knife for $35, a Lodge L8SK3 cast iron for $25, and the OXO 3-tool utensil set for $30. The knife handles most prep tasks, the pan covers daily sears and reheats, and the utensils keep you from scratching nonstick. Ergonomic layout matters in a galley kitchen because a small workflow shortcut on day 1—like placing your go-to tools where your hands naturally land—saves time all the way through the install and daily cooking. The trade-off: that Lodge pan needs seasoning and gets heavy fast when you’re tired. Using vertical storage solutions like wall-mounted pot racks can help you clear counter space so your new tools stay organized and easy to grab in a galley kitchen.
Victorinox Fibrox Chef Knife ($35)
How do you start a first galley setup without getting stuck with the wrong tool? Get a budget chef knife: a Victorinox Fibrox. You’ll get a thin, ~56 HRC stamped blade that slices cleanly, resists staining, and feels grippy when wet. high carbon stainless (high carbon, stainless steel) blade is hand finished in Switzerland and hardened, tempered, ground, polished, etched, and finished for long-lasting sharpness. – 15° per-side factory edge
- NSF-safe, low-crevice handle
- Dishwasher-safe build
- 5″ for tight spaces, 8″ for volume
- Easy honing with rod or stone
Rockwell Hardness is listed by Victorinox as 56, and it’s considered soft but durable enough to work as a beater knife. Limitation: Fibrox can feel bulky in small hands.
Lodge L8SK3 Cast Iron ($25)
Why gamble on a bunch of gadgets when you can start with one honest workhorse? You’ll use the Lodge L8SK3 cast iron skillet constantly: it’s solid cast iron, oven-safe, works on every cooktop, and handles searing to baking for 1–3 portions. Availability is indicated by platform, so you can check whether it’s in stock before committing. Oven safe, it can go from stovetop to the oven without needing to swap pans. It’s $25 budget cookware with real longevity.
| Use | Outcome |
|---|---|
| Sear | crust |
| Roast | even heat |
| Fry | steady |
| Bake | pan works |
| Simmer | not ideal for acidic |
Limitation: hand-wash only, and avoid long acidic simmering.
OXO 3-Tool Utensil Set ($30)
A solid first pick for your $70 day-1 galley toolkit is the OXO 3-Tool Utensil Set ($30), built around three one-piece beechwood pieces: a large wooden spoon, a slotted spoon, and a turner. You’ll get wooden utensils that work across metal, enamel, cast iron, and non-stick. non-slip grip across all tools helps keep control during everyday prep tasks. One-piece beechwood resists crevices. Natural oil finish stays food-safe. OXO Good Grips handles give control. Slotted spoon drains in sauces. Hand-wash only; avoid soaking.
The Next $50 (After You Know How You Cook)
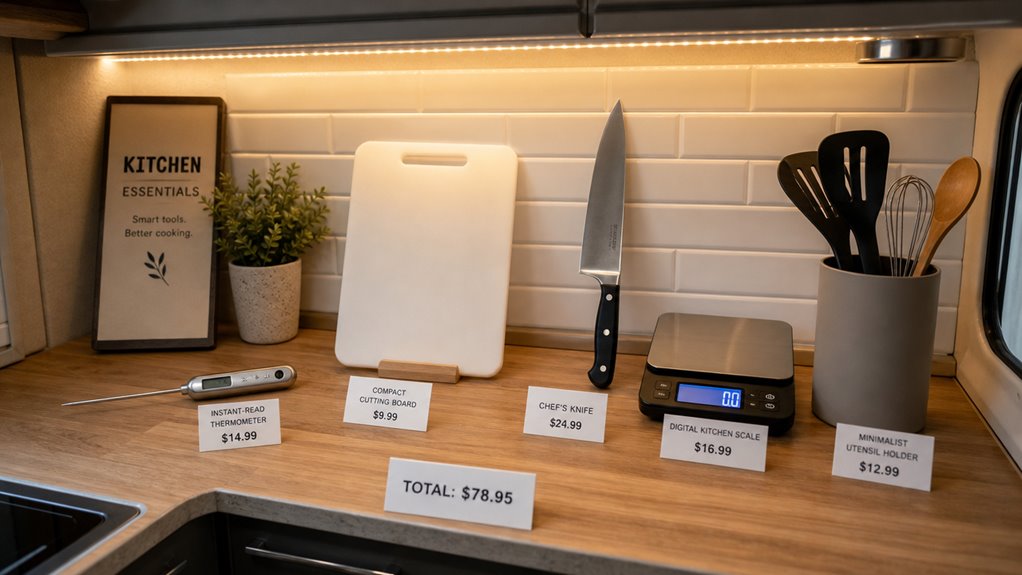
After your day-1 knife setup, put the next $50 toward a wooden cutting board ($25), a ceramic honing rod ($15), and a magnetic knife strip ($15) so you’re not fighting dull edges or cramped storage. You can keep the board as your reliable prep surface and use the ceramic rod regularly to bring the edge back without taking your knife to the grinder. Just know the board needs periodic oiling to prevent drying, and the strip only works well if your wall/backsplash lets you mount it securely. ceramic honing rod
Wooden Cutting Board Upgrade ($25)
When you upgrade to a wooden cutting board in the $25 range, you’re really buying a prep surface that’s easier on your knives and your counter than plastic, while still fitting a galley layout. Aim for 12″×18″ and 0.75″–1.5″ thickness. Look for nonslip surface for secure foundation, juice grooves, reversible sides, and food-safe finishes. Bamboo or acacia boards—bamboo cutting boards featured prominently—also make a common, practical upgrade in this price tier. Oil monthly with food-safe mineral oil. Use one side for proteins. Store upright via handle. Watch warping if under-sealed.
Ceramic Honing Rod ($15)
Once you’ve got your $25 wooden cutting board set up, the next “$15 that actually gets used” is a ceramic honing rod.
In a budget galley kitchen, it realigns your edge and removes tiny amounts of steel, so you push off full sharpening.
A good option to consider is the CK-TG Black Ceramic Sharpening Rod (270mm), which is priced at $35.00.
Use it lightly, tip on a towel, knife heel-to-tip, ~10–20 strokes.
Limitation: drop it and it can crack, so store it carefully.
Magnetic Knife Strip for Wall Mount ($15)
Where do your “grab it while you’re cooking” knives end up right now—drawer, counter, or half-hidden in a corner? In your budget galley, a magnetic knife strip gives wall-mounted storage so you grab by the spine, not the edge. Look for a 24-inch option, extra-strength magnets, and solid wall mounting.
- Holds multiple knives (up to ~16 claimed)
- Uses stainless or wood
- Mount away from traffic
- Install flush for best grip
- Avoid thin, weak strips
The Next $50 (Pattern-Revealed)
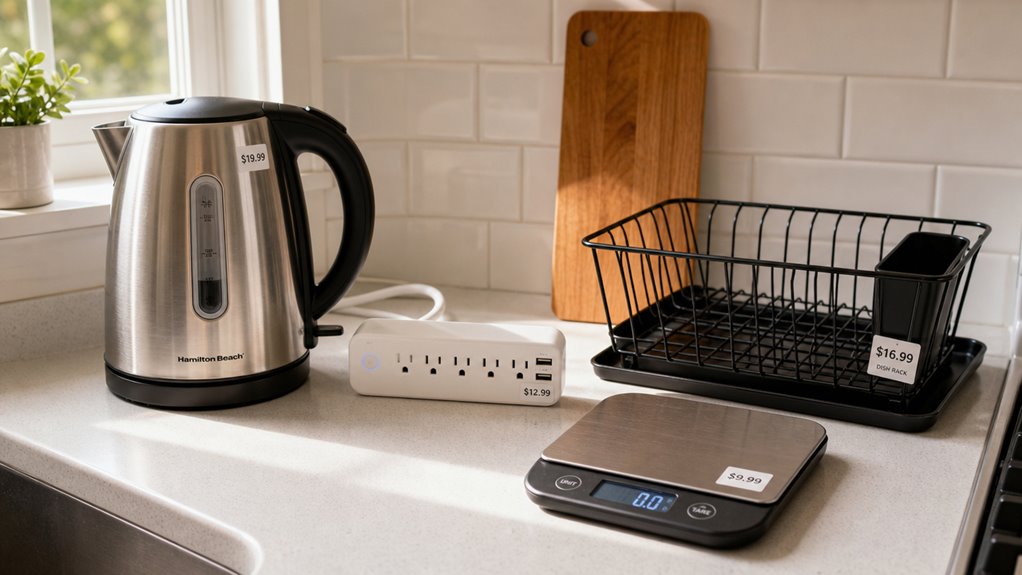
In the 1–3 month window, you add the “if-this-is-you” buys: a coffee maker or kettle for about $20–$30, plus a specialty cooking pan for around $25 only if your weekly rhythm already calls for it.
If you keep cooking anything acidic (tomato-heavy sauces, lots of citrus), you then budget the full $80 for a Lodge enameled Dutch oven, because enamel is what protects the cooktop-friendly everyday use you actually get.
Just be aware the Dutch oven’s limitation is size and storage—if your galley is tight, you’ll need a real home for it, not hope you’ll find one later.
Coffee Maker or Kettle ($20-30) Based on Daily Habit
Picking between a coffee maker and an electric kettle in the $20–30 band comes down to what you actually do day to day. In a budget galley kitchen under $200, match your daily beverage habits:
- One cup: 5-cup mini drip or 0.8–1.0L kettle
- Two to four people: 10–12 cup drip or 1.5–1.7L kettle
- Sipper style: kettle/reboil speed beats warming plates
- Coffee+tea+instant: kettle wins in kettle vs coffee maker versatility
- Tight counter: choose under-8-inch, ~24-inch cord models
Limitation: drip makers warm slowly and get louder.
Specialty Cooking Pan If Pattern Demands ($25)
So you’re only buying this specialty pan if your cooking pattern actually shows up again and again.
In a budget galley, a specialty pan under $25 should replace a routine, not a “maybe.”
Pick an 8–10 inch carbon-steel fry/crepe/mini wok for frequent eggs, stir-frires, or tortillas.
One limitation: cheap nonstick PTFE pans often lose slickness in 2–5 years under higher heat.
Lodge Enameled Dutch Oven for Acidic Cooking ($80)
If you keep making tomato sauces, wine-based braises, or anything with citrus and vinegar, a Lodge enameled Dutch oven at about the 3 qt size can do real work in a galley kitchen instead of sitting there “just in case.”
You get enamel-lined cast iron for acidic cooking. It marinate, simmer, and refrigerate leftovers in one pot.
- Nonreactive enamel
- Heat retention on narrow burners
- Dual-loop handles to lift safely
- Oven-safe to 500°F
- Gentle handwash only
Limitation: avoid broiler use.
The Final $30 (Earned Specialty)
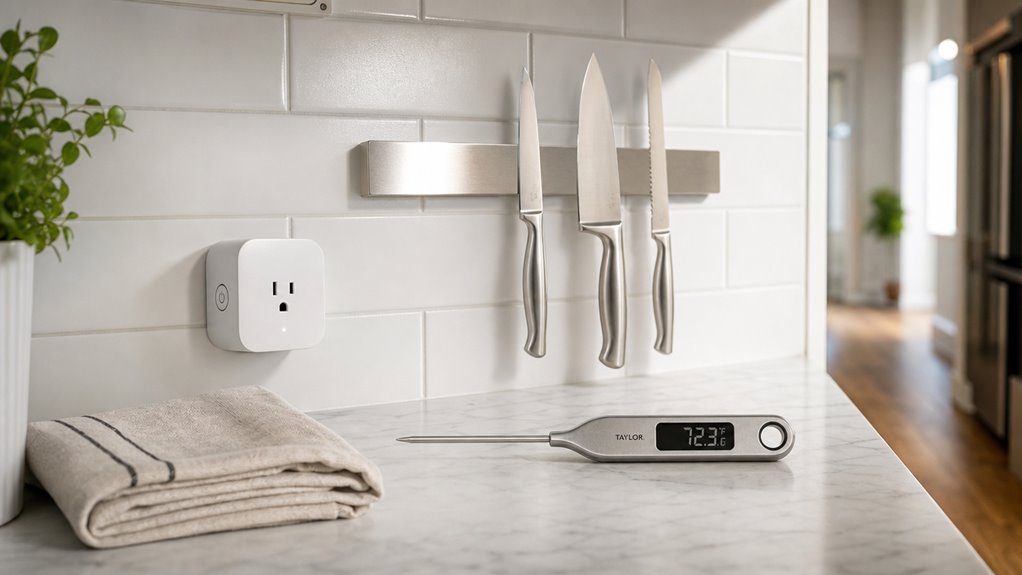
Once your core setup is doing 95% of the work, you earn the last $30 by fixing what your actual routine keeps repeating: a $25 whetstone for basic sharpening, plus a few small storage upgrades like under-shelf hooks, a tension rod, or Command hooks to stop clutter from multiplying.
The trade-off is real—your whetstone works only if you’re willing to spend a few minutes learning a steady angle, and hooks won’t last forever on walls that aren’t clean or paint that’s already peeling.
This is the difference between “more stuff” and a kitchen that stays usable when you cook every day.
Whetstone for Knife Sharpening ($25)
How do you choose a whetstone when you only want to spend about $25 and sharpen mostly kitchen knives that are dull, not chipped? For budget sharpening, get a 1000–3000 grit combo stone (synthetic water) so you can handle most edges in one block.
- 1000 grit for dull blades
- 3000 grit for finishing
- Keep it flat
- Add water, not oil
- Plan to flatten sooner
Specific Storage Hardware (Under-Shelf Hooks, Tension Rod, Command Hooks)
Now you can stop treating “storage” like a mystery purchase and start choosing hardware that matches your galley layout.
Under-shelf hooks hold 3–15 lb, but only if your shelf thickness fits and the finish resists rust.
Add a tension rod for 5–10 lb (up to 15–30 lb on heavy-duty) between rigid surfaces.
Use Command hooks to clear walls; limitation: they lose grip on steamy, greasy spots.
What to Spend the $200 On (And What Not To)
You spend the $200 on a piecewise kit that actually earns lifetime ownership: a Lodge L8SK3, a Victorinox knife, and an OXO tool set cover most daily cooking, while bundles usually drop quality to hit the item count.
You also don’t waste money on decorative extras or mystery “complete kitchen bundles” that skip the stuff you’ll use every day, like a properly sized sink/plumbing setup and secure mounting hardware.
The trade-off is you’ll only buy a specialty piece once your cooking pattern shows up—otherwise you risk paying for tools you don’t end up needing.
Why the $200 Buys 8 Lifetime-Ownership Tools, Not 25 Bundle Items
Why spend $200 on a “25-piece kitchen” bundle that front-loads duplicates and drawer-fodder, when you could build a smaller set you actually use every week? You’ll get better chef’s knife performance, essential cookware coverage, and durability by buying 8 core tools, not 25 fillers.
- Chef’s knife
- Cutting board
- Skillet
- Stock pot
- Tongs
Why Lodge L8SK3 Plus Victorinox Plus OXO Beats Any $200 Block Set or Cookware Bundle
A lot of “$200 kitchen sets” look big on paper because they ship 20–30 pieces, but they spread the money thin across low-grade steel, thin pans, and gadgets that fail before you even learn your cooking routine.
Choose Lodge cast iron for heat retention, Victorinox for wet-grip prep, and oxo for ergonomics that don’t bend.
Skip knife blocks and mixed cookware; sets often waste money on duplicates.
Frequently Asked Questions
Can I Really Build a BIFL Galley Kitchen for Under $200?
Can I really build a BIFL galley kitchen for under $200?
Yes. Total cost lands around $200 when split across three phases.
What do I buy first?
Essentials only, around $70 on day one.
What comes next?
Pattern-driven tools added within 1–3 months, around $50.
What is the final phase?
One specialty item earned later, around $80.
Should I buy bundles?
No. Skip bundles entirely.
How many items should I own?
Few. Buy only what is necessary.
What do I do when something breaks?
Repair it.
When do I replace something?
You do not. Replace nothing.
What if My Cooking Style Changes After I Buy the Day-1 Tools?
Your day-1 tools are method-neutral. A chef’s knife, skillet, cutting board, and colander work for roasting, sautéing, boiling, and raw prep. New cooking styles don’t cancel their usefulness.
Which Phase-2 Add-On Prevents Most Cutting Mistakes and Dull Knives?
A non-slip cutting board prevents most cutting mistakes by stabilizing food during cuts. A ceramic honing rod prevents dull knives by realigning the blade edge between uses.
How Do I Know if the Lodge Enameled Dutch Oven Is Actually Needed?
Do I need the Lodge Enameled Dutch Oven?
You need it if you regularly simmer soups, braise meats, bake bread, or cook acidic one-pot meals in large batches. You don’t need it if you mostly sauté, stir-fry, or reheat quick meals—a skillet works better for those tasks.
What Storage Hardware Matters Most in a Cramped Galley Kitchen?
What storage hardware matters most in a cramped galley kitchen?
Magnetic knife strips, inside-cabinet door organizers, pull-out spice racks, and under-shelf or under-sink pull-outs matter most.
What does a magnetic knife strip do for a galley kitchen?
It mounts knives on the wall, freeing up drawer and counter space.
Why are inside-cabinet door organizers useful?
They store spices and bottles on otherwise wasted door surfaces.
What do pull-out organizers improve?
They improve access to deep cabinet interiors without removing everything stored inside.
Where are under-shelf pull-outs most effective?
Directly beneath existing shelves to add a second storage layer in tight spaces.
What problem does under-sink pull-out hardware solve?
It organizes awkward, hard-to-reach space around plumbing under the sink.
What is the main benefit of these storage solutions combined?
They eliminate clutter and keep daily-use tools within immediate reach.
Conclusion
If you stick to this plan, your galley kitchen starts functional, not crowded. Day 1 buys you the core: a real knife, a dependable pan, and one everyday tool. Then you add only after you notice what you use. In 6–12 months, you’ll stop hoarding “maybe” gadgets. A well-chosen kit beats a bargain bundle like a single good knife beats a dull Swiss Army confetti blizzard.