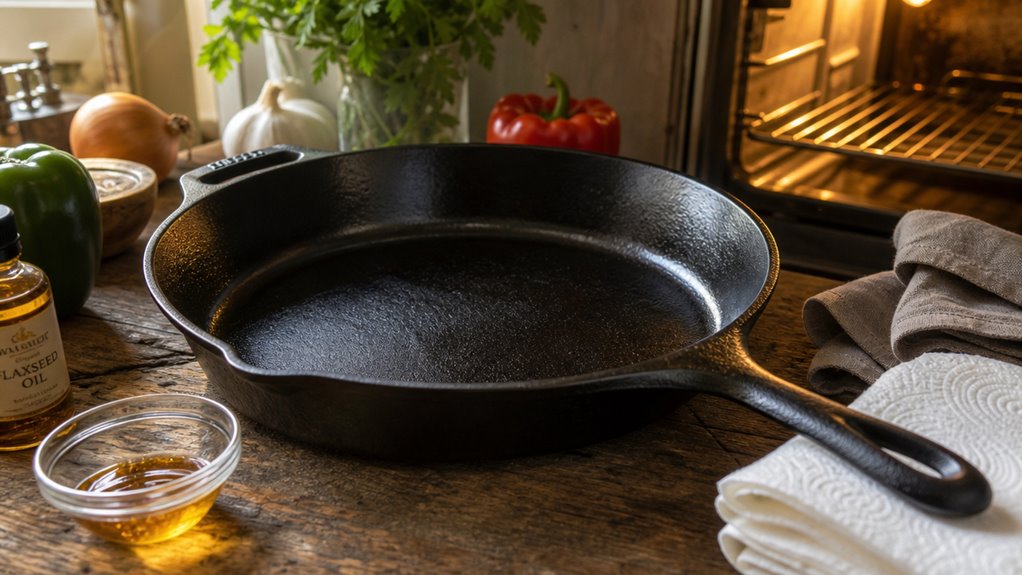
Cast Iron Seasoning: The process works when you follow each step without shortcuts.
- High-smoke-point oil — the primary seasoning agent that polymerizes into a hard, protective film
- Crisco or grapeseed oil — the two most reliable choices for building a durable patina
- Oven temperature (450–500 °F) — the heat threshold that triggers proper cross-linking in the oil layer
Cast iron seasoning requires a high-smoke-point oil. Crisco and grapeseed oil both perform well. Lodge Cast Iron, a Tennessee-based manufacturer founded in 1896, pre-seasons its pans using vegetable oil at the factory. That factory coat is a starting point, not a finish.
Warm the pan first. A warm pan accepts oil more evenly than a cold one. Wipe a barely visible layer of Crisco or grapeseed oil across every surface. Too much oil causes gummy patches. Too little does nothing.
Place the pan upside-down in an oven set between 450 and 500 °F. The inverted position prevents oil from pooling. Bake for one full hour. Let the pan cool inside the oven with the door closed. Repeat this process two more times using the same ultra-thin coats.
The oil and heat form a cross-linked polymer film. That film fills the iron’s pores and blocks moisture. Moisture causes rust. The film stops it.
Local cookware shops like a neighborhood kitchen supply store often carry both Crisco and food-grade grapeseed oil side by side.
Interesting Fact: Cast iron seasoning is chemically similar to the polymerization process behind some industrial coatings, heat converts unsaturated fats into a hard, carbon-based layer bonded directly to the iron surface.
Key Points
- Clean the pan thoroughly, then heat it to just above the oil’s smoke point (≈425‑500 °F) before applying a thin, wipe‑dry coat of high‑smoke‑point oil.
- Use ultra‑thin coats (about 0.5 tsp per layer) and bake upside‑down for at least one hour, allowing the pan to cool inside the oven to avoid thermal shock.
- Repeat the thin‑coat bake 2‑3 times; three layers give a durable, non‑stick polymer film that resists rust and flaking.
- Avoid aerosol sprays or low‑smoke‑point oils that leave gummy residues; prefer grapeseed, avocado, or Crisco shortening.
- After seasoning, wipe off any excess oil before cooking; regular use will build additional micro‑layers, enhancing the non‑stick surface over time.
What Seasoning Is on Cast Iron (And Why Cheap Shortcuts Fail)
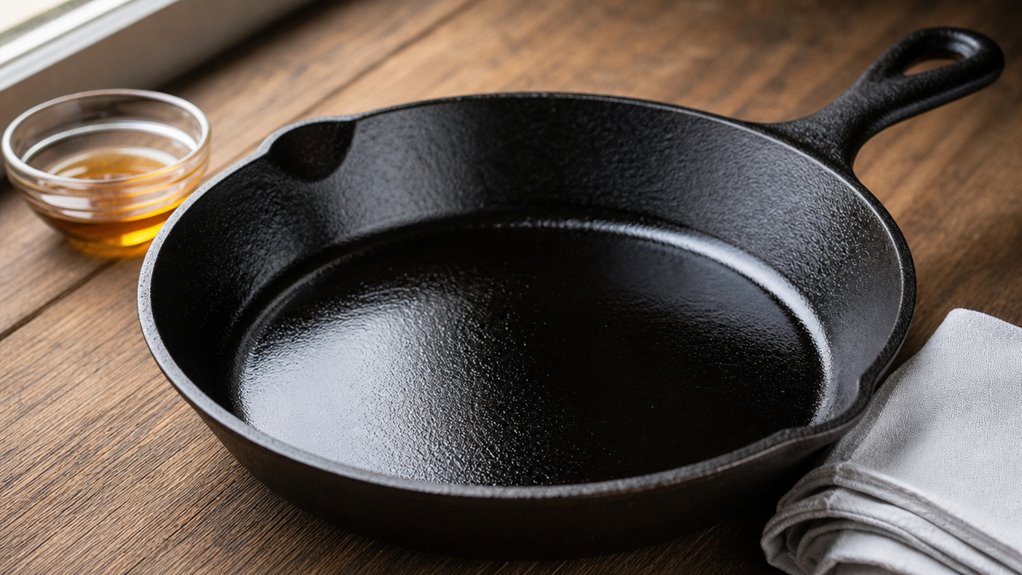
You’ll notice that the non‑stick quality of a Lodge skillet comes from a thin, cross‑linked polymer layer that forms when oil is heated about 50 °F above its smoke point. The Crisco‑era method still beats most spray‑on shortcuts because it lets the oil fully polymerize at a steady 450–500 °F, creating a durable bond that outlasts the flaky carbon film many owners mistake for seasoning. Home seasoning can match the factory pre‑seasoned finish, but only if you apply ultra‑thin coats and give each layer enough heat; otherwise you end up with a soft, sticky surface that peels off quickly. Regular use builds additional seasoning layers over time, reinforcing the polymerized surface.
The Polymerized Oil Layer That Makes Lodge Cast Iron Non-Stick
When you heat a cast‑iron skillet past the smoke point of the oil you apply, the triglycerides break down and the unsaturated bonds form free radicals that cross‑link into a thin, hard bio‑polymer.
That polymerized oil layer is what makes Lodge cast iron non‑stick.
The process is called cast iron polymerization, and it follows the cast iron seasoning steps: wipe a thin film of oil, bake at 450‑500 °F for at least an hour, then repeat three to four times.
Each coat is barely visible, yet together they fill microscopic pores and create a durable, enamel‑like surface.
Because Lodge pre‑seasoned pans already have a primer, you only need to reinforce it with these ultra‑thin coats.
Over‑loading oil or using low‑smoke‑point sprays leaves sticky patches that never fully polymerize.
Why Crisco-Era Methods Outperform Modern Sprays
The polymer layer you just built with thin oil coats is the real secret to a non‑stick cast‑iron skillet, but the way you get there matters more than the fact that you heated it. You’re probably wondering why to season cast iron with a solid fat instead of a spray.
Crisco‑era methods use a cast‑iron seasoning oil that spreads evenly when the pan is warm, then melts into a uniform film that you wipe almost dry before baking.
This thin, cross-linked coat polymerizes in the 450–500°F range, the oven’s sweet spot this guide uses so it bonds tightly to the iron.
Modern sprays add propellants and lecithin, which can leave gummy residues and uneven patches.
The best oil season cast iron is inexpensive, low‑smoke‑point shortening that you can apply repeatedly, building a durable, non‑stick surface that lasts years, not months. The skillet is heated to 200 °F and placed upside down in the oven for the initial stage.
How Lodge Factory Pre-Seasoning Compares to Home Seasoning
Because Lodge’s factory pre‑seasoning is just a couple of thin vegetable‑oil coats baked at about 500 °F, you get a real polymerized layer but it’s deliberately light and uneven.
The coating is a true cast iron seasoning, yet it’s only a few microns thick, so the pebbly sand‑cast surface stays coarse.
When you learn how to season cast iron at home, you’ll apply multiple thin coats of a higher‑smoke‑point oil, wiping each to dry and baking at 450‑500 °F for an hour.
Those repeated layers gradually smooth high points and build a darker, more durable film.
If you re‑season a Lodge pan after stripping the factory coat, you’ll notice the underlying texture is rougher, but the home‑built seasoning can outlast the factory film and handle delicate foods better.
Seasoning develops through repeated heating and cooling cycles during regular use.
Why Bonded Polymer Outlasts the Flaking Carbon That Mimics Seasoning
Lodge’s factory pre‑seasoning gives you a thin, uneven polymer film that’s already bonded to the iron, but it’s only a few microns thick and won’t survive heavy use for long.
A true season cast iron coat forms when you heat a light oil layer past its smoke point, letting free‑radical polymerization cross‑link the molecules into a dense, thermoset film.
That film locks to the iron oxide and shrinks into the micro‑pits, so it stays even after years of scraping.
By contrast, the flaking carbon that mimics seasoning is an under‑polymerized, brittle layer that cracks and peels, especially when you use flaxseed oil—cast iron flaxseed oil cracks appear in months.
The polymerized coat resists stickiness, while a carbon‑rich surface leaves your pan cast iron sticky after seasoning.
The lateral cohesion of oven‑baked layers is essential for durability.
The Step-by-Step Method That Holds Up After 50+ Cooks
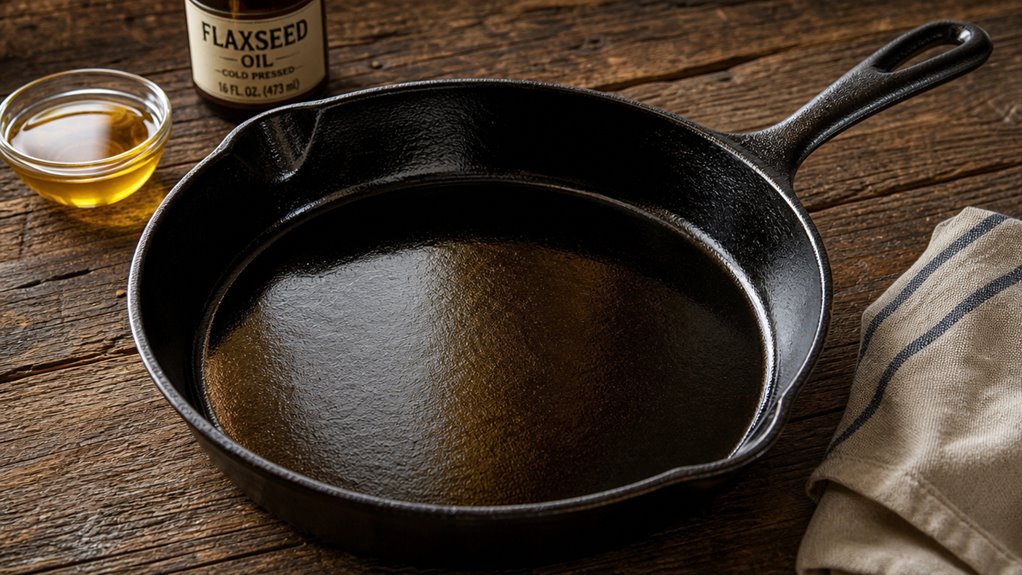
You’ll want to skip flaxseed because its fast‑drying polymer cracks after a few months and instead use a high‑smoke‑point oil like grapeseed or avocado, which stays flexible at 400‑500 °F.
Heat the pan to about 450 °F for 45 minutes, then let it cool gradually; this temperature is roughly 50 °F above the oil’s smoke point, ensuring a solid cross‑linked layer.
Three ultra‑thin coats baked in the oven give a tougher, more even surface than a single thick stovetop coat, and you’ll find that three layers are enough for a pan that holds up through fifty‑plus cooks.
Why Flaxseed Oil Cracks and What to Use Instead
Why does flaxseed oil crack on a cast‑iron skillet? Its chemistry makes a glass‑like polymer that hardens fast but stays brittle.
The oil’s high iodine value and 50‑60% omega‑3 content create a dense, cross‑linked film that can’t flex when the pan expands under heat.
Small cracks appear, especially on rough spots, and moisture slips underneath, lifting the coating.
You’ll see flaking after a few weeks of regular cooking, especially around edges and rivets.
Instead, use an oil with a higher smoke point and more saturated fats, like Crisco shortening or avocado oil.
They polymerize at 360‑520 °F, forming a flexible, durable layer that survives 50+ cooks.
Apply a thin coat, wipe dry, and season the cast iron in the oven at 450–500°F for at least an hour per layer.
This method avoids the brittleness of flaxseed and yields a lasting, non‑stick surface.
Oven Temperature, Timing, and the Smoke-Point Math
When you set the oven to 450‑500 °F and let the skillet bake for at least an hour, the iron reaches a temperature that pushes most seasoning oils just past their smoke points, which is the sweet spot for polymerization.
Aim for a thin coat—about half a teaspoon per ten‑inch pan—wiped dry so the oil vaporizes cleanly.
The oven’s thermostat can be off by 25‑50 °F, so setting it 25 °F above the oil’s smoke point (e.g., 425 °F for grapeseed) gives a safety margin.
Keep the pan upside‑down on a rack to catch drips, then let it cool inside the oven to avoid thermal shock.
You’ll see a light, even sheen and a hard, non‑sticky surface when the polymer layer has fully formed.
How Many Layers You Actually Need (Not Six)
Start by realizing you don’t need a marathon of coats to get a usable pan. One thin, well‑baked layer already blocks rust; two or three just make the surface darker and sturdier. Lodge’s oven method calls for a single bake, then suggests extra cycles only if you want extra sheen. In practice, aim for 2–3 thin coats, then let regular cooking add micro‑layers. After 50+ cooks the pan will have built a robust polymer film, so you won’t need to keep piling on oven coats.
| Coats | Purpose | Typical Result |
|---|---|---|
| 1 | Rust protection | Bare iron sealed |
| 2 | Darker appearance | More even patina |
| 3 | Durable non‑stick | Consistent cooking |
| 4+ | Diminishing returns | Slight gloss gain |
| Maintenance | Cook with oil/fat | Ongoing reinforcement |
Why Three Thin Oven Coats Beat One Thick Stovetop Coat Every Time
You’ve already seen that a couple of thin oven coats give a solid base, so let’s compare that to slathering a thick layer on the stovetop.
An oven holds a steady 425‑°F environment, letting each 0.5 tsp wipe‑dry coat cross‑link evenly across the pan, walls, and rim.
The polymer film forms a hard, plastic‑like skin that fills microscopic pores and resists rust for dozens of cooks.
On the burner, a thick coat pools in the center, never reaches the oil’s smoke point uniformly, and leaves sticky, semi‑cured patches that flake later.
Those uneven spots trap food and lint, shortening the pan’s life.
Three thin oven coats, upside‑down with a tray, give a uniform, durable seasoning that survives 50 + uses without the cracking or flaking you’ll see with a single heavy stovetop coat.
Common Seasoning Mistakes That Make Pans Sticky or Streaky
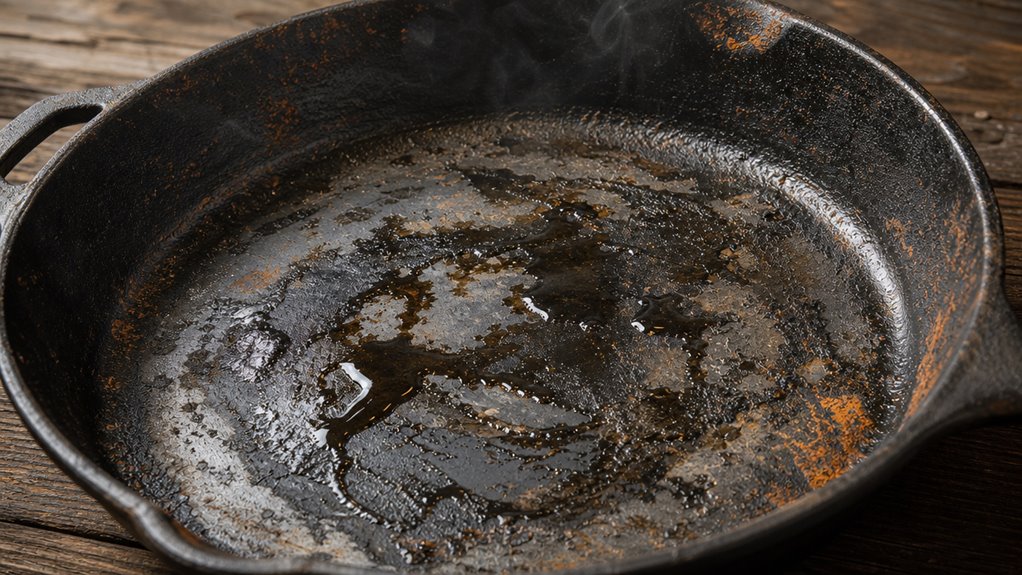
You might think a thick coat of oil will protect the pan, but it actually leaves a gummy layer that never fully polymerizes, making the surface sticky and uneven.
Skipping the pre‑bake step means the pan isn’t hot enough for the oil to bond, so you end up with patches that flake or streak.
If you cool the skillet too quickly after seasoning, the fresh polymer film can crack, turning a fresh coat into a brittle, spotty mess.
Too Much Oil: The Reason New Owners Strip and Restart
Often the biggest mistake new owners make is loading the pan with too much oil before the first bake. When you dump a thick layer, the oil can’t reach the temperature needed to cross‑link, so it stays soft and gummy. You’ll see dark patches, glossy puddles, and a sticky feel that makes food cling.
Those patches trap unpolymerized oil, causing streaks and off odors after storage. The cure is a thin, almost dry coat—about a teaspoon for a 10‑inch skillet, wiped until only a faint sheen remains.
Apply three to five of those light coats, each baked at 450‑500 °F for an hour. If you over‑oil, you’ll end up scrubbing or stripping the pan, wasting time and material.
Keep it light, wipe well, and let the polymerization do its work.
Skipping the Pre-Bake: Why the Pan Has to Be Hot First
Skipping the pre‑bake is a mistake that shows up as sticky patches or streaks after the first few cooks.
When you dump oil onto a cold pan, the oil stays thick and beads, forming gummy spots that never fully polymerize.
Heat the iron first, then wipe a thin coat of oil; the hot surface lowers viscosity, lets the oil seep into pores, and drives off any lingering moisture.
This creates a uniform micro‑film that bonds to the iron’s oxide layer, yielding a hard, cross‑linked coating.
If water remains, it flashes to steam and leaves pitted, uneven areas.
A pre‑heated pan also accelerates oxidative polymerization, giving you a smoother, glassy finish and fewer streaks later on.
Cooling Methods That Crack New Seasoning
When you pull a freshly seasoned skillet out of a 500 °F oven and set it on a cold countertop, the rapid temperature drop creates thermal shock that can stress the thin polymer layer you just built. Let it cool in the turned‑off oven instead; the gradual drop lets the oil‑iron bonds settle and prevents the brittle cracks that appear later. Avoid dunking the pan in cold water or slamming it onto a marble slab. A thin, dry coat before heating is key—excess oil pools, stays tacky, and leaves streaks. If the surface feels sticky, wipe off the surplus and re‑apply a micro‑thin layer.
| Issue | Cause | Fix |
|---|---|---|
| Cracking | Sudden thermal shock | Cool in oven |
| Sticky finish | Too much oil | Wipe dry, thin coat |
| Streaky spots | Uneven wiping | Consistent rub‑off |
| Warping | Uneven contraction | Slow temperature drop |
| Brittle film | High temp + fast cool | Moderate oven, gradual cool |
“`
Maintenance Cooking That Builds Patina That Lasts Decades
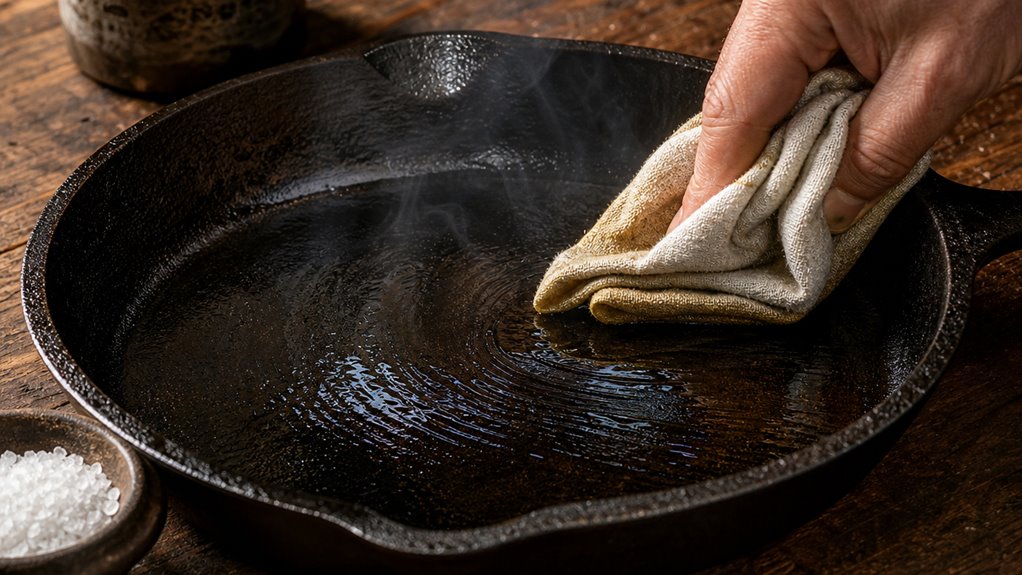
You’ll notice that cooking bacon, butter, or any high‑fat food on your skillet adds a thin, polymerized layer each time you heat it past the oil’s smoke point, and those layers stack into a durable patina.
Because the fat bonds directly to the iron, you don’t have to re‑season every few months—regular, high‑heat frying does the work for you.
Just keep the pan warm, wipe it dry, and give it a light coat of oil after each wash to preserve the hard, non‑sticky surface.
Bacon, Butter, and the Fats That Build Patina Fastest
Bacon grease, butter, and ghee each add a thin layer of fat that polymerizes into a patina, but they do it at different speeds and with different results.
Bacon fat is a blend of saturated and monounsaturated fats; a quick wipe‑on after cooking builds a dark, slick surface fast, but its moderate smoke point (≈350–375 °F) limits high‑heat durability and can leave pork notes on neutral dishes.
Butter’s low smoke point (~300–350 °F) and milk solids make it better for finishing than for a strong coat; the solids burn and act like food residue if you don’t clean promptly.
Ghee, with milk solids removed, raises the smoke point to ~450 °F, giving a smoother, more neutral patina that tolerates higher heat.
Use a thin film each time you cook, strain bacon grease to avoid bits, and finish with ghee for a balanced, long‑lasting layer.
Why You Don’t Need to Re-Season Every Few Months
Even if you’ve been told to re‑season every few months, the chemistry of a cast‑iron pan doesn’t work that way. Seasoning is a polymerized oil layer, not a fragile coating that needs a calendar reset.
Normal cooking with a thin film of oil keeps adding microscopic polymer layers, gradually darkening and smoothing the patina. You only need to touch‑up when you see rust, flaking, or a sticky buildup.
- Wash with mild soap, dry immediately, and warm briefly to evaporate hidden moisture.
- Apply a whisper‑thin oil film, wipe off excess.
- Store dry, with airflow.
- Re‑season only after genuine damage, not on a schedule.
When to Strip and Re-Season vs Just Touch Up
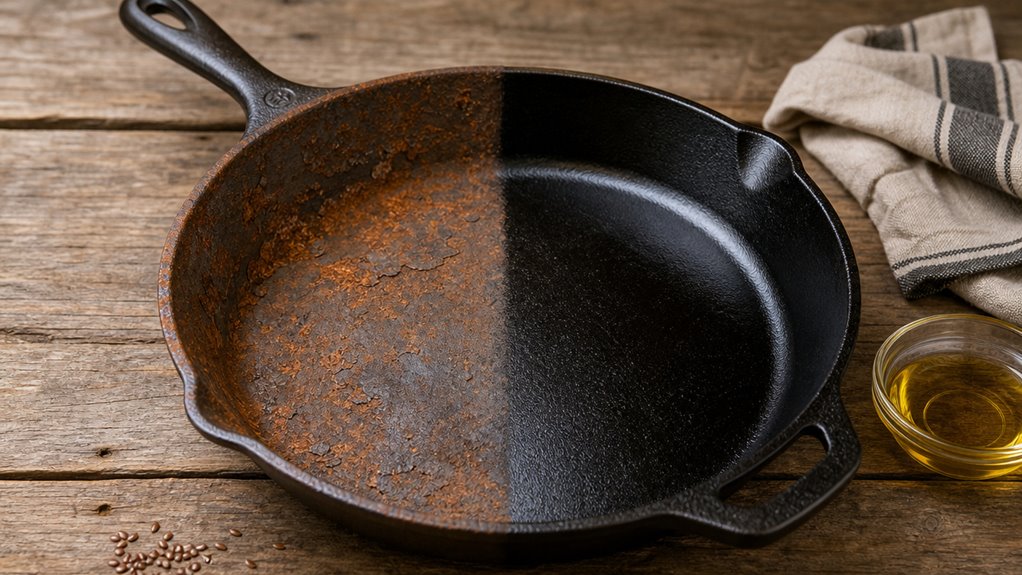
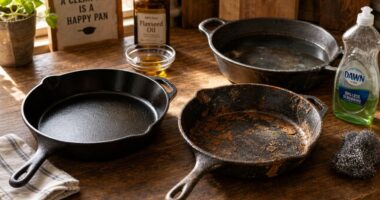
You’ll know it’s time to strip when rust patches grow larger than a quarter‑inch or the black coating feels sticky and flakes off with a gentle scrape.
A small gray speck or a thin, uneven patch can usually be rescued by a spot‑oil treatment and a short bake at 450 °F.
Reserve a full re‑season only for heavy rust, thick carbonized buildup, or persistent odors that a simple touch‑up can’t erase.
Rust Spots: How Big Is Too Big
Rust spots are a reality check for any cast‑iron owner, and knowing when a tiny speck turns into a full‑scale repair job saves you from unnecessary hassle. Small pinpoints that stay under a dime and don’t flake can be scrubbed with steel wool, salted, then lightly oiled.
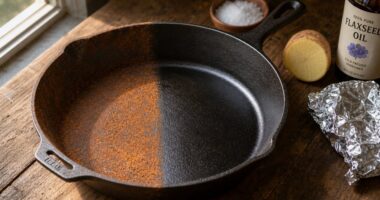
If the rust covers 5‑10 % of the interior but the surrounding black seasoning is intact, treat it as a localized repair: clean, dry, and apply one or two oven‑seasoning cycles. When rust spreads beyond a quarter of the surface, shows orange‑brown pitting, or reappears after a quick touch‑up, you need to strip to bare metal and start a full seasoning regimen.
When to spot‑clean vs. strip
- Spot‑clean: < 1 cm, non‑raised rust.
- Localized repair: 5‑10 % interior, seasoning intact.
- Full strip: > 30 % interior, deep pitting, recurring rust.
- Full restoration: uniform orange matte surface, only seasoning islands left.
Sticky Patches: Strip vs Sand vs Cook Through
After you’ve dealt with rust spots, the next annoyance you’ll meet is a sticky patch. A tacky spot usually means you left too much oil on the surface before heating.
If it’s mild, wipe it with a paper towel, then heat the pan over medium for a few minutes; the oil will finish bonding. For light stickiness, just keep cooking—regular use evens out the polymer layer and the patch will fade.
When the pan feels gummy across large areas, or flakes are loose, it’s time to strip and re‑season.
Use an oven‑cleaner strip or a strong solvent, then apply 2–3 thin coats of a 360°F‑smoke‑point oil like Crisco, baking 1 hour each.
Sanding isn’t needed unless the surface is rough; a chain‑mail scrubber removes loose bits without damaging the pan.
Follow the touch‑up, cook‑through, or reset rule to keep your skillet functional.
Frequently Asked Questions
Q: How do I season cast iron cooking correctly for a new cast iron skillet?
A: To season a new cast iron skillet, first wash it with warm water and mild soap to remove factory residue, then thoroughly dry. Apply oil using a thin layer of a high smoke point cooking oil such as canola or lard over the entire cooking surface and exterior. Place the pan upside down in a preheated oven at 450–500°F with a sheet of foil beneath to catch drips. Bake for 1 hour, then turn off the oven and let the pan cool back in the oven. This initial seasoning creates a durable layer of seasoning and is a seasoning method that works for most new pan and modern cast iron cookware models.
Q: What is the best way to apply oil when you season cast iron cookware?
A: The best way to apply oil is sparingly: pour a small amount of cooking oil or canola onto a folded paper towel and rub a very thin, even coat over the entire interior and exterior of the cast iron pan. Excess oil can pool and create sticky spots rather than a smooth layer of seasoning. Choose an oil with a high smoke point when possible for the seasoning process, and wipe off any visible oil before placing the skillet in the oven.
Q: How often should I season my cast iron pan or skillet?
A: Seasoning every few months is common for regular home use, but frequency depends on use and maintenance. If food starts to stick or the surface looks dull, reapply the seasoning method: clean, dry, apply a thin coat of oil, and heat. Using your cast iron frequently, cooking with cast iron at high heat, and avoiding prolonged acidic foods will help maintain a well-seasoned cast iron surface between full seasoning sessions.
Q: Can I use my new cast iron cookware immediately after initial seasoning?
A: Yes, after the initial seasoning and cooling back in the oven, you can use your new cast iron cookware. For best results, preheat the pan before cooking and add a small amount of oil to the cooking surface. Early uses further polymerize the seasoning and improve nonstick properties; regular use and proper maintenance help build a durable seasoning layer on the cast iron skillet.
Q: Is it okay to cook acidic foods in a newly seasoned cast iron pan?
A: Avoid cooking acidic foods like tomatoes or vinegar-based sauces in a new cast iron pan until the seasoning is well-established. Acidic foods can strip the seasoning layer. Once your cast iron cookware has developed several layers of seasoning and behaves like a well-seasoned cast iron, cooking acidic dishes becomes more feasible without damaging the seasoning.
Q: What oils are recommended for seasoning cast iron skillet and which should I avoid?
A: Recommended oils for seasoning include canola, grapeseed, and other high smoke point oils, as well as traditional fats like lard for a reliable seasoning method. Avoid oils with very low smoke points or strong flavors that can become rancid. Mineral oil is not recommended for seasoning; it won’t polymerize into a durable layer of seasoning. Choose an oil that supports polymerization under high heat to build a resilient cooking surface.
Q: How do I maintain the seasoning after cooking and cleaning my cast iron cookware?
A: After cooking, rinse the cast iron pan with warm water and use a brush or chainmail scrubber if needed. Dry thoroughly and apply a thin coat of oil while the pan is still warm to protect the cooking surface. Avoid prolonged soaking and harsh detergents. If food sticks or the surface looks dull, perform a brief seasoning touch-up by applying oil and heating the pan to restore the layer of seasoning.
Q: My cast iron skillet developed sticky or uneven seasoning—how can I fix it?
A: Remove the sticky or uneven seasoning by scrubbing the pan with a stiff brush and hot water, or by using coarse salt as an abrasive. For persistent issues, you may need to strip the pan to bare metal using oven cleaner or a self-cleaning oven cycle, then repeat the initial seasoning method: dry, apply a very thin coat of oil, and bake at high heat. Ensure oil on the pan is wiped thin to prevent pooling and sticky buildup during the seasoning process.
Q: Are there different seasoning methods for vintage cast iron cookware versus new pan purchases?
A: The core principles are the same: create thin, even layers of polymerized oil through heat. Vintage cast iron may already have multiple seasoning layers and only require maintenance seasoning, while new cast iron skillet often benefits from an initial seasoning. Some collectors and cast iron collector communities prefer multiple short seasoning cycles at lower temperatures or using lard for traditional flavor, but a high heat oven seasoning method that works consistently is to apply oil, bake at 450–500°F, and cool back in the oven until a durable, black finish forms.
Conclusion
You’ve built a pan that behaves like a seasoned pro’s—smooth, rust‑free, and ready for anything. The polymerized oil layer will keep food from sticking as long as you give it a light coat after each use. If a spot ever turns flaky, a quick re‑season will fix it without stripping the whole thing. Treat the skillet like a trusted tool, not a novelty, and it’ll serve you for decades.