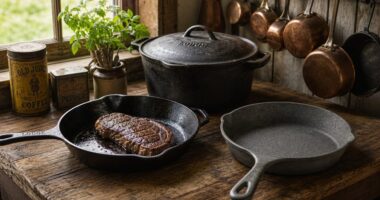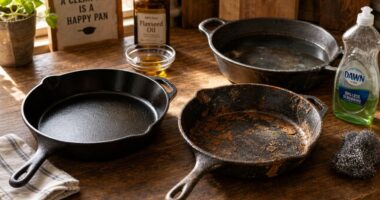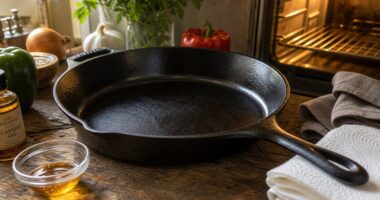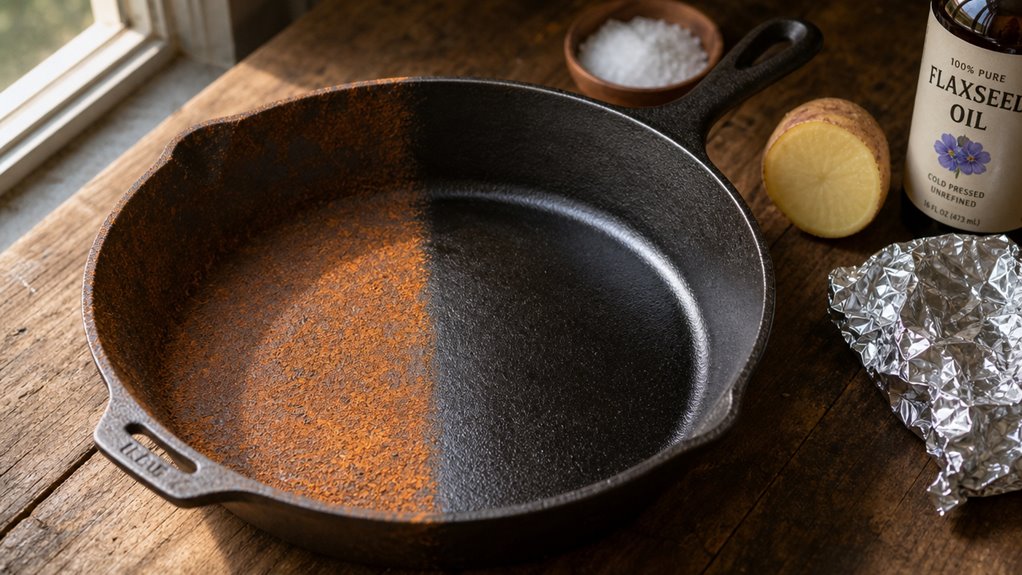

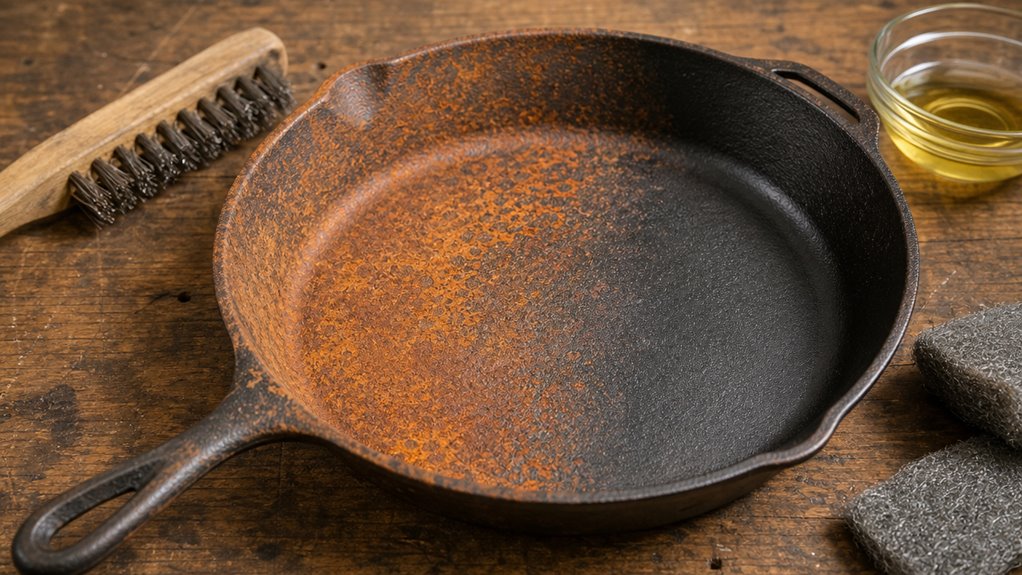
Rusted Cast Iron Cookware: Restoration begins with three essential steps in the cleaning cycle.
- Vinegar solution soak
- 0000-grade steel wool scrubbing
- High-smoke-point oil seasoning
To restore rusted cast iron cookware it requires a 50/50 mix of white vinegar and water. Lodge Cast Iron skillets and similar pans soak in this solution for one to three hours when rust is light. Moderate rust spots need up to twelve hours of soaking time.
0000-grade steel wool removes the orange rust film. The pan receives firm scrubbing until bare metal appears beneath the surface. Rinsing follows immediately after scrubbing ends.
A lint-free cloth, such as a Zwipes Microfiber Cleaning Cloth, dries the surface completely. The skillet then sits on a burner set to low heat for several minutes. Heat forces hidden moisture out of the iron’s pores.
Crisco or Crisbee Puck seasoning oil coats the interior surface in a thin, even layer. The pan bakes upside-down inside a standard home oven at 450°F for one full hour. A local cookware shop like a Sur La Table store location provides both seasoning oils and proper baking rack sets.
The oil-and-bake cycle repeats two additional times. The pan cools completely between each seasoning cycle. A functional, non-stick cooking surface builds up through each repeated layer.
Interesting Fact: Cast iron cookware restored through proper seasoning can outlast the person who restores it, with some American-made Lodge skillets currently in active use dating back to the early 1900s.
Key Points
- Soak the pan in a 50/50 white‑vinegar and water mix for 1–3 hours (light rust) or 6–12 hours (moderate rust), then discard the liquid.
- Scrub the loosened rust with 0000‑grade steel wool (or a chainmail scrubber for light carbon) until the metal looks uniformly dull gray.
- Rinse, pat dry with a lint‑free cloth, and heat the pan on low for a few minutes to evaporate hidden moisture.
- Apply a thin coat of high‑smoke‑point oil and bake upside‑down at 450–500 °F for about an hour; repeat the oil‑bake cycle two more times.
- Store the cooled pan dry, with a light satin‑finish oil coating, and avoid prolonged water exposure to prevent re‑rust.
Why Cast Iron Rusts (And What Determines Whether It’s Recoverable)
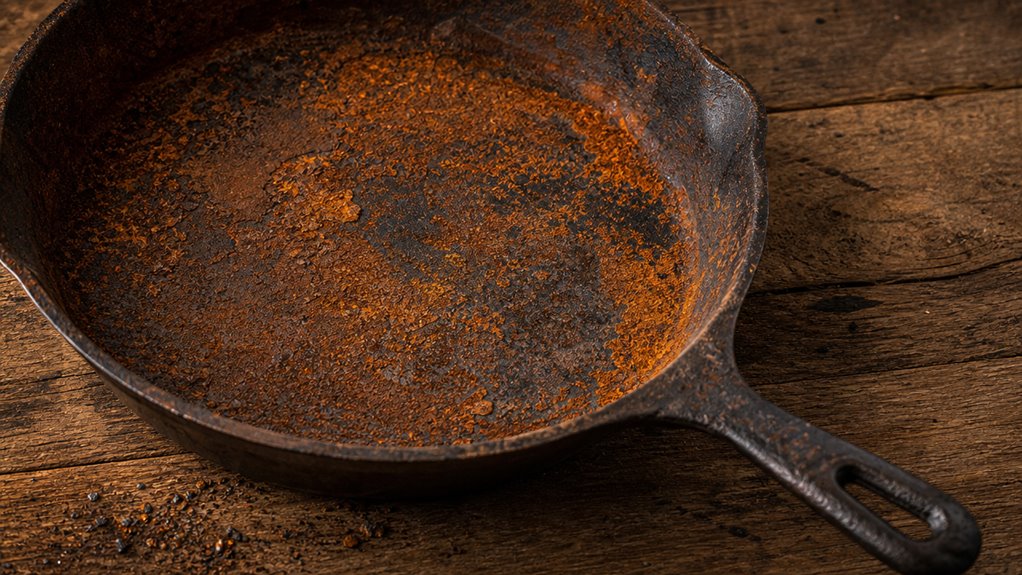
You’ll notice that surface rust shows up as a thin orange film you can scrub off, while pitting rust creates tiny holes that may need steel wool or a brief vinegar soak, and through‑rust means the metal has been eaten away completely.
If a pan sits in water for more than a few hours, the moisture can penetrate the seasoning and accelerate the oxidation, turning a recoverable surface rust into deeper pitting.
The key to deciding if it’s worth restoring is how deep the corrosion is and whether the base iron is still structurally sound.
Leaving water on the pan for extended periods accelerates rust formation.
Surface Rust vs Pitting Rust vs Through-Rust
When moisture meets bare iron and oxygen, rust starts forming, and the type of corrosion you see—surface rust, pitting, or through‑rust—tells you how far the damage has gone.
Surface rust is a thin orange‑red coating that sits on the outer layer; a quick scrub, a brief vinegar soak, and thorough drying usually bring it back to life.
Cast iron pitting rust, deeper craters where iron has been eaten away, shows up as tiny holes or rough spots; you can clean it, but the texture stays and the pan loses a bit of thickness.
Through‑rust means the oxidation has penetrated the metal, weakening the structure and often leaving large gaps; at that point the pan is unsafe and not worth restoring.
Knowing which stage you face guides whether you’ll spend an hour on a brush or discard the piece.
Protective oxide layers can form on cast iron, turning surface rust into a stable patina rather than an invasive corrosion.
How Long a Pan Can Sit in Water Before It’s Beyond Repair
Surface rust, pitting, and through‑rust each tell you how far the damage has gone, and that same logic helps you gauge how long a pan can sit in water before it’s beyond repair.
A quick rinse and dry—under ten minutes—usually leaves no lasting rust, so you can safely remove rust cast iron later with a light scrub.
Fifteen to thirty minutes may produce light surface rust; a brief vinegar soak will clear it, and you’ll just need a quick re‑season.
One to four hours of immersion often softens seasoning and creates patchy rust, demanding more aggressive scrubbing and a spot re‑season.
Overnight soaking (eight to twelve hours) typically yields widespread orange‑brown rust, still reversible with thorough cast iron rust restoration.
Beyond twenty‑four hours, pitting deepens and structural integrity can be compromised, making full re‑seasoning or replacement the only safe option.
If the pan is cold when placed in water, it is more prone to rust formation.
The Restoration Method That Saves Heirloom Pans- How to Restore Cast Iron Cookware
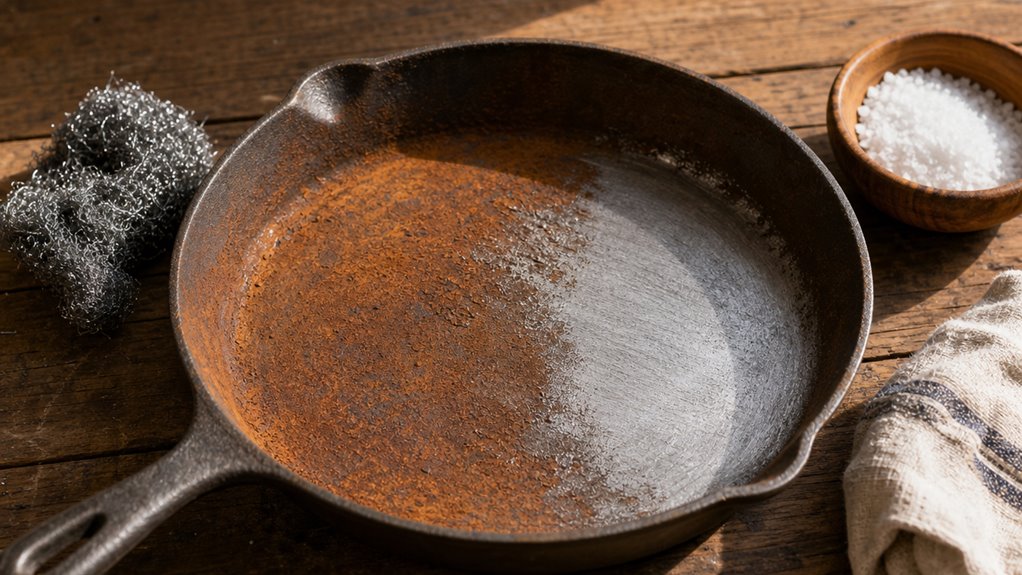
You’ll start with a vinegar soak that matches the rust’s depth—one to three hours for light spots, six to twelve for moderate, and no more than twenty‑four for severe, stopping as soon as the fizzing eases.
After the pan is rinsed, use 0000‑grade steel wool for surface rust, a chainmail scrubber for stubborn patches, and a wire‑brush attachment only when the oxidation is thick and the metal is still solid.
Finally, dry the skillet thoroughly, then rebuild the seasoning with a thin coat of high-smoke-point oil.
A well‑seasoned pan prevents rust by forming a protective carbonized layer.
Vinegar Soak Times by Rust Severity (And When to Stop)
If you’re tackling rust on a vintage cast‑iron pan, start with a 50/50 vinegar-water mix and keep each soak to no more than thirty minutes.
For light rust, a single 15‑30‑minute soak usually loosens the orange film; brush, see bare gray, then stop.
Moderate rust needs repeated 30‑minute sessions, checking after each and swapping out the solution when it darkens; total time rarely exceeds three hours.
Heavy rust on a rusted cast iron heirloom should still be limited to 30‑minute bursts, and if after two to three cumulative hours the rust isn’t softening, move to electrolysis or a lye bath.
Stop immediately once the metal looks uniformly dull gray, fizzing slows, or you notice sandpaper‑like pitting.
This measured approach protects the pan’s thin walls while still answering how to remove rust cast iron.
Use a stiff‑bristled brush after each soak to ensure all loosened rust is removed before reseasoning.
Steel Wool, Chainmail, and Wire Brush: Which Tool for What
When you’re faced with rust on a heirloom cast‑iron pan, the tool you pick can mean the difference between a clean surface and a thinned wall.
0000‑grade steel wool works best for light flash rust and fine pits; it slides into tiny logo crevices without stripping the existing seasoning, but it won’t tackle thick carbon layers.
Use 1–3 grade wool for moderate rust or flaking seasoning, then finish with 0000 to protect the seasoning.
Chainmail scrubbers are great for routine cleaning after you’ve removed rust cast iron pan; they lift light carbon without marring a well‑bonded layer, yet they can’t penetrate deep pits.
Wire brushes—hand or drill‑mounted—remove heavy rust fast, but they can round edges and leave scratch marks, so reserve them for stubborn spots when electrolysis cast iron isn’t an option.
The Re-Seasoning Process After Rust Removal
After you’ve stripped the rust and washed away any loose seasoning, the next step is to dry the pan completely before you start the re-seasoning.
Pat it with a lint‑free cloth, then heat it on low for a few minutes to chase hidden moisture.
Next, coat the entire surface—inside, rim, and handle—with a *thin* film of cooking oil; too much will stay sticky, too little won’t bond.
Place the skillet upside down in a pre‑heated 450‑500°F oven, foil underneath to catch drips, and bake for about an hour.
Let it cool in the oven, then repeat the thin‑oil bake two more times for a durable finish.
This routine is essential for cast iron rust prevention and helps you save rusted cast iron skillet during vintage cast iron restoration.
When to Use Electrolysis (And When It’s Overkill)
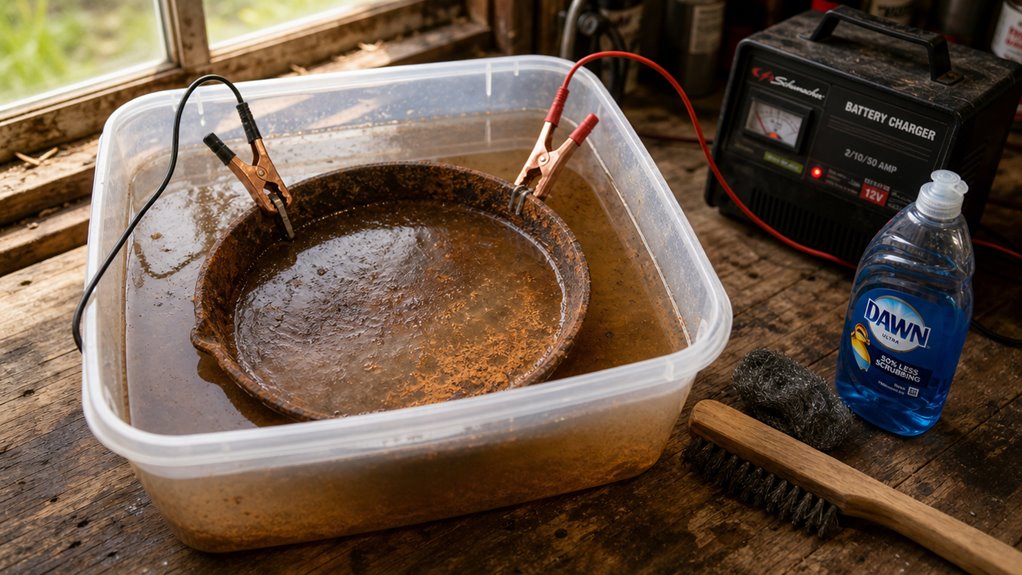
An electrolysis rig is inexpensive to assemble from a charger, a plastic tote, washing soda, and scrap steel — a modest one-time outlay that pays off only on heritage pieces.
If the pan is a vintage Wagner or has deep pitting that a vinegar soak can’t reach, the electrolysis setup pays off; for a cheap modern skillet with a light orange film, the same gear is overkill.
Vinegar on the counter handles surface rust fast and cheap, while electrolysis shines when you need to preserve maker’s marks and rescue a true heirloom.
What an Electrolysis Setup Costs and How to Build One
If you’re dealing with deep pitting or a heritage piece that a simple vinegar soak can’t reach, an electrolysis bath is the next logical step.
A basic setup is inexpensive: a 12‑V manual charger, a 10‑gallon plastic tote, a box of washing soda, and scrap steel for the anode (often free). The whole rig is a modest one-time outlay.
Plug the charger into a 6‑10 A setting, dissolve a tablespoon of soda per gallon, and suspend the cast iron rust‑laden pan on a wooden crossbar.
Connect the negative lead to the pan, the positive to the steel anode.
Run 2‑12 hours; electricity is pennies per hour.
The system is reusable, but you’ll need to replace the anode when it erodes.
This modest investment restores a rusty cast iron heirloom without a professional service.
Pans Worth Saving With Electrolysis vs Pans That Aren’t
When rust has built up deep enough that a vinegar soak or a quick scrub still leaves orange patches, electrolysis becomes the tool that actually reaches into the pores and crevices without shaving off metal.
Use it on heavy, layered rust that resists acid, on antique pieces from Griswold, Wagner, or Birmingham that carry collector value, and on complex shapes like gem pans where a brush can’t reach.
The process preserves thin walls and fine‑ground surfaces, so you won’t lose machining detail.
Skip it for cheap, sand‑cast Lodge #8s or generic store‑brand pans that you can replace for under $30.
Those low‑cost items don’t justify a 6‑10 amp charger, a washing‑soda bath, and several hours of work.
Electrolysis is worth the effort only when the pan’s heritage or rarity outweighs the labor.
Why Counter-Top Vinegar Wins on Surface Rust and Electrolysis Wins on Heritage Pieces
Because surface rust is just a thin layer of Fe₂O₃, a simple 50/50 vinegar‑water soak does the job without any gadgets. You’ll dip the pan for 30 minutes to a few hours, scrub lightly, and the red oxide lifts away. The solution is cheap, safe for drains, and needs only gloves and eye protection.
It works best on everyday skillets with intact metal and cosmetic orange rust.
When the piece is a vintage Wagner Sidney or a heavily pitted heirloom, vinegar can etch the thin walls and erase machining marks.
Electrolysis, using a 6‑10 A DC charger and washing‑soda electrolyte for 2‑12 hours, loosens deep rust while preserving fine casting details.
It’s worth the setup for valuable or severely corroded pans, but overkill for a simple countertop skillet.
Avoiding Re-Rust After Restoration
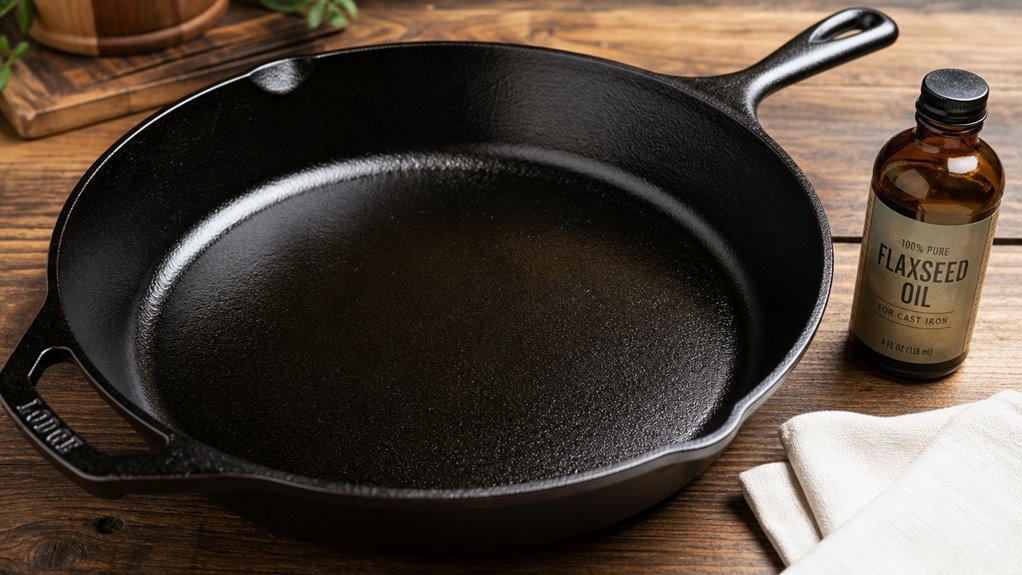
After you finish the rust‑removal steps, set the pan on the stovetop over low heat for a few minutes to drive off any hidden moisture; even a thin film of water in the pores can start new rust.
Once it’s dry, rub a very light coat of high‑smoke‑point oil—just enough to sheen the surface—so the seasoning stays sealed while you store it.
This quick heat‑dry and oil‑thin step keeps the iron from oxidizing again without adding a greasy buildup.
Why Drying on the Stovetop Matters
Drying your cast‑iron on the stovetop right after you’ve towel‑dried it stops the flash‑rust cycle before it even starts.
Moisture left in pores or on rims reacts with oxygen, forming orange dust within hours.
A low‑to‑medium‑low burner drives that water out faster than air, pulling it from hidden spots the towel can’t reach.
You place the cast iron pan on the burner, let it heat until the surface looks matte, then tilt it a few seconds to clear the underside and handle.
Keep the heat gentle to protect seasoning and avoid warping thin walls.
After a few minutes the pan cools, and you store it dry.
This simple step cuts recurring rust and preserves the work you put into sanding, vinegar soak, or electrolysis.
The Light Oil Coat That Prevents Rust in Storage
What really matters after you’ve stripped the rust and seasoned the pan is the final, ultra‑thin oil film that sits on the surface while it waits in storage. Warm the skillet just enough to spread the oil, then wipe it with a lint‑free cloth until it looks satin, not shiny. A microscopic layer of food‑grade flaxseed or grapeseed oil blocks moisture without attracting dust. Re‑apply only if the coating looks dull or if you store the pan for months in a humid spot. Keep the pan in a dry, ventilated cabinet; avoid basements and under‑sink cabinets.
| Oil Type | Best Use |
|---|---|
| Flaxseed (cold‑pressed) | Long‑term storage, high‑smoke‑point polymerization |
| Grapeseed | Everyday maintenance, neutral flavor |
| Canola | Budget option, easy to find |
| Lard/Tallow | Short‑term spot protection, may rancid quickly |
Inheriting Rusted Cast Iron: What’s Worth the Effort
You can recognize a vintage Wagner, Griswold, or Birmingham Stove Works by the maker’s mark and the thin, machined‑smooth interior that modern Lodges lack.
The old pan’s legacy and superior non‑stick performance after a proper restore often exceed the cheap, plug‑and‑play convenience of a new Lodge, especially when you’ve inherited it and want to keep the family story alive.
Just keep in mind that a cracked base or severe warping will still make the restoration effort impractical.
Identifying Vintage Wagner, Griswold, and Birmingham Stove Works
When you first spot a rusted skillet, the easiest way to tell whether it’s a Wagner, Griswold, or Birmingham Stove Works piece is to look at the body shape and the pour‑spout. Wagner and Griswold tend to be lighter, with smoother walls; Birmingham Stove & Range (BSR) feels heavier and its walls a bit thicker.
Griswold pour‑spouts are crisp and large, Wagner’s are well‑developed but subtler, while BSR’s are utilitarian and less sharply defined.
Handles give clues too: Wagner often has a teardrop hanging eye, Griswold an oval or keyhole eye with a raised rib, and BSR a shorter, blocky eye.
Brush off loose rust and you’ll still see logos, pattern numbers, or gate marks that confirm the maker.
Severe pitting reduces cooking value more than collector value, and warped or cracked pans usually aren’t worth restoring.
Why a Rusty Vintage Pan Beats a New Lodge
Spotting a rusted vintage skillet after you’ve identified its maker is just the first step; the next question is whether it’s worth the effort to bring it back to life.
The rust you see is usually surface‑level oxidation, a few microns thick, and the seasoning underneath often stays intact.
Light rust can be stripped with steel wool and a quick vinegar soak, then reseasoned, leaving the original casting sound.
Older manufacturers like Wagner or Griswold used finer sand molds and often machined the cooking surface, giving a smoother, thinner wall that heats faster than a modern Lodge’s pebbled, thicker cast.
Even after restoration, the vintage pan’s natural nonstick feel and quicker temperature response can outshine a new Lodge, especially when you inherit the piece and avoid any purchase cost.
The trade‑off is the time you’ll spend cleaning and seasoning, but the material cost is minimal.
Why a Restored Vintage Wagner Beats a New Lodge for the Cook Who Inherits It
If you inherit a rusted Wagner skillet, the first thing to notice is the maker’s mark—Wagner, Griswold, or Birmingham—still visible under the corrosion. The vintage pan’s thin walls and factory‑machined surface give you quicker heat response and easier release once you re-season it, which feels more forgiving for a beginner.
Its heirloom aura adds emotional weight that a cheap Lodge can’t match, and you’ll likely keep it for generations because the early‑20th‑century casting resists structural defects.
Key advantages of a restored Wagner over a new Lodge
- Faster heat‑up and precise browning.
- Lighter handling for less fatigue.
- Higher resale and collectible value if you ever sell.
A Lodge works out‑of‑the‑box, but it lacks the legacy, performance nuance, and potential upside a restored Wagner brings to your kitchen.
Frequently Asked Questions
Q: How do I restore cast iron cookware that is rusted or crusty?
A: To restore cast iron that is rusted or crusty, start by assessing the extent of corrosion on the pieces of cast iron. For light surface rust, scrub with a steel wool pad, sandpaper, or a wire brush until you get rid of any rust, then wash in soapy water and dry thoroughly. For heavy rust, consider electrolysis or soaking in a solution of washing soda (sodium carbonate) and water, followed by mechanical scrubbing. After cleaning, dry completely, apply a thin layer of grease or oil, and re-season in the oven at 450–500°F for an hour to build a new protective coating. These instruction steps will help bring old cast iron back to like-new condition for cooking.
Q: Can a vintage cast iron skillet be safely restored for everyday use?
A: Yes, a vintage cast iron skillet can usually be restored and made safe for everyday use if the metal is structurally sound. Begin by removing old seasoning and areas covered in rust using mechanical methods or a controlled chemical treatment like oven cleaner as a last resort. Clean thoroughly with soapy water, dry, and apply multiple thin coats of oil, baking each in the oven to re-season. Check for hairline cracks or significant pitting—if the pan is cracked or severely damaged cast iron, it may not be safe to restore. For well-maintained vintage cast iron, proper restoration and castironcare will allow you to fry and cook reliably again.
Q: What is the easiest way to clean and re-season a small amount of rust on a skillet?
A: For little rust on a skillet, the easiest way to clean is to scrub with a non-scratch pad or fine sandpaper until the rust is removed, then wash in warm soapy water, rinse, and dry immediately. Apply a thin coat of cooking oil and heat on the stovetop or in the oven to polymerize the oil and re-season the surface. Repeat the oiling and heating process two or three times to build a robust seasoning. This simple instruction works well for minor issues without needing more aggressive treatments.
Q: If my cast-iron pan has old seasoning that is flaking, should I strip it completely?
A: If the old seasoning is flaking or burned, it is advisable to strip it completely to create a stable base for re-seasoning. You can remove old seasoning by baking the pan upside down in a very hot oven to loosen carbonized layers, scrubbing with an abrasive pad, or using oven cleaner in a well-ventilated area for persistent buildup. Once stripped to bare metal or a clean surface, follow a proper seasoning protocol: apply thin coats of oil and heat repeatedly until you achieve a smooth, polymerized finish.
Q: What chemicals or household products are recommended or to be avoided when restoring cast iron?
A: Recommended products include washing soda (sodium carbonate) for soaking rusted parts, mild dish soap for general cleaning, and food-safe oils for seasoning. Avoid harsh or inappropriate chemicals that can damage the metal—use oven cleaner sparingly and only with proper precautions, and avoid prolonged exposure to strong acids. Products like Easy-Off may remove carbon but require careful use. Do not use bleach or corrosive acids directly on cast iron as these can cause pitting. Always neutralize and rinse thoroughly after chemical treatments before re-seasoning.
Q: How do I handle damaged cast iron that has pitting or small holes from rust?
A: For damaged cast iron with minor pitting, clean the surface thoroughly and re-season; many small pits are cosmetic and will not affect performance. Significant pitting that compromises the structural integrity or creates deep holes is more problematic—evaluate whether the vessel is safe to use. Welding or professional metal repair is sometimes possible but rarely cost-effective for cookware. If unsafe, consider repurposing the piece or replacing it. When in doubt, consult a professional restorer experienced in restoring cast iron.
Q: What are the best care instructions after restoring cast iron to prevent future rust?
A: After restoration and re-seasoning, follow these care instructions: dry cast iron immediately after washing and warm it on the stovetop to evaporate any remaining moisture; apply a light coat of oil after each use; avoid soaking in soapy water for prolonged periods; use a gentle scrubbing pad rather than harsh abrasives for routine cleaning; store in a dry place, optionally with a paper towel inside to absorb moisture. Regular use—especially frying or cooking with some fat—helps maintain the seasoning. These cast iron care practices will help keep your cookware in like-new condition.
Q: Where can I learn more or see demonstrations on how to restore cast iron and maintain vintage cast iron?
A: Many resources are available: look for video tutorials and step-by-step guides from reputable culinary or restoration channels; check out our cast iron playlist or related restoring cast iron content for practical demonstrations. Local workshops, antique shops, or flea market vendors who specialize in cast-iron may offer hands-on advice. For written instruction, seek trusted blogs and manuals that cover seasoning and rust removal techniques, and always follow safety guidance when using chemicals or high heat.
Conclusion
You’ve turned a rusty relic into a kitchen workhorse, just like the old farmer who rescued his cracked plow and kept his fields productive. The process isn’t magic; it’s patience, a vinegar soak, a bit of electrolysis if needed, and a solid seasoning routine. Keep the pan dry, oil it lightly after each use, and it’ll stay rust‑free for years. Remember, a well‑maintained skillet can outlast a brand‑new non‑stick pan, saving you money and preserving a piece of history.