
Passing down cast iron requires consistent care routines that preserve seasoning, prevent rust, and document the pan’s history for future owners. A well-maintained skillet can remain fully functional across multiple generations when each caretaker follows the same foundational steps.
- Seasoning forms a polymerized oil layer on the cooking surface that protects against rust and improves non-stick performance over time.
- High-smoke-point oil bonds to cast iron during heating and creates a durable, food-safe coating that withstands repeated use.
- Maker’s marks identify a pan’s origin, age, and manufacturing details, giving future owners essential context for its care and value.
Drying the skillet immediately after each wash removes surface moisture before rust can form. A thin coat of high-smoke-point oil applied after drying, followed by brief heating, allows the oil to polymerize and lock into the iron’s surface. Storing the pan upright in a dry, ventilated space with a paper towel inside absorbs any residual moisture between uses.
Documenting each pan requires recording the maker’s marks, size, and any rust or seasoning issues present at the time of handoff. Noting the oil type and heating method used during each seasoning session gives the next caretaker a reliable reference point. This record travels with the pan and allows consistent care to continue without interruption.
Cast iron cookware produced in the late 19th and early 20th centuries often features smoother interior surfaces than many modern pieces, as foundry finishing techniques of that era typically involved additional milling steps that are now rarely used.
Cheap or expensive is the wrong question. Cost per use is the honest one. Check out our new Calculator.
Cost-Per-Use Calculator →Passing a skillet down cleanly comes down to five steps:
- Document it first. Record the maker’s marks, size, and condition, and take photos before any cleaning.
- Restore only as much as needed. Lift rust and old buildup with gentle methods such as a salt-and-potato scrub, a vinegar-and-water soak, or controlled electrolysis, never abrasive scraping that harms the markings.
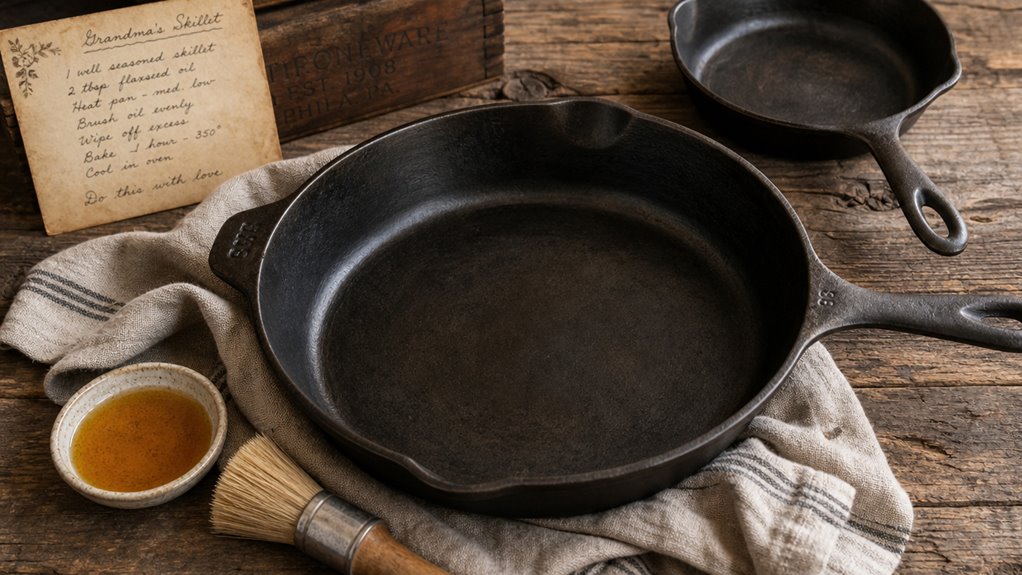
- Rebuild the seasoning. Bake thin coats of high-smoke-point oil at 450 to 500 degrees Fahrenheit for about an hour, repeated three to five times.
- Maintain it daily. Dry the pan thoroughly after each wash, wipe on a thin oil film while it is still warm, and cook fatty foods regularly to keep the layer alive.
- Store and hand it off. Keep it upright in a dry, ventilated spot with a paper towel inside, and pass the written care record along with the pan.
Key Points
- Identify maker marks and document provenance before any cleaning to preserve historic value.
- Remove rust and old seasoning using gentle methods (salt‑potato scrub, vinegar soak, or controlled electrolysis) and avoid abrasive scraping.
- Season the pan with multiple thin coats of high‑smoke‑point oil, baking each at 450‑500 °F for one hour, then repeat 3‑5 times.
- Establish a daily care routine: dry thoroughly, apply a light oil film, and cook fatty foods regularly to maintain and strengthen seasoning.
- Store the skillet upright in a ventilated, dry location with a paper towel inside, and keep a record of photos, markings, and maintenance dates for future generations.
Heritage Cast Iron Care That Keeps a Skillet Going for Generations
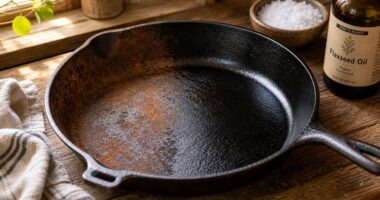
Cast iron skillets can last for generations because the single-piece construction contains no removable parts, no joints, and no components that wear out independently — making rust the only meaningful threat to a pan’s long-term serviceability.
Preventing that rust comes down to keeping the cooking surface dry after each wash and applying a light coat of oil before storage. Seasoning reinforces this protection by building up a polymerized layer through repeated thin applications of high-smoke-point oil baked on at temperatures typically between 450 and 500 degrees Fahrenheit.
Each properly applied coat bonds to the iron and contributes to a surface that resists moisture, improves release, and grows more durable with continued use.
The practices that support this kind of longevity reward closer attention than most cooks expect. Regular use helps maintain the seasoning and prevents rust buildup.
Why Cast Iron Outlives Its Owners When Maintained
Often the secret to a skillet lasting longer than its owners isn’t a miracle coating. It’s the iron itself. Its dense carbon‑rich body resists warping and abrasion, so even centuries of heat‑cycles leave the core sound.
When you scrub away rust, dry the pan on the burner for a minute, then wipe a thin oil film, you’re renewing the protective layer that seasoning creates. Every time you fry with a little fat, that polymerized film thickens, filling scratches and strengthening the surface.
Because rust only attacks the outer layer, you can strip, scrub, and re‑season without ever replacing the pan. This simple routine of dry, oil, heat keeps a heritage skillet alive for generations. Regular use helps the seasoning even out over time.
The Single-Piece Casting With No Parts to Wear Out
One solid cast‑iron skillet has no joints, screws, or glued handles to fail, so the metal itself does all the work.
The single‑piece casting eliminates rivets and welds that could loosen or corrode, giving you a monolithic body that heats evenly and resists warping.
Because the handle is forged as part of the base, mechanical loads spread out, reducing breakage risk.
Your seasoning acts as a renewable wear layer, protecting the iron from rust and abrasion.
When you clean, wipe with a thin oil film, and store dry, the seasoning stays intact and the pan stays ready for the next generation.
Inspect the surface regularly; any crack means the piece has reached its limit.
Hot water can be used briefly to rinse off food particles before applying a thin oil film.
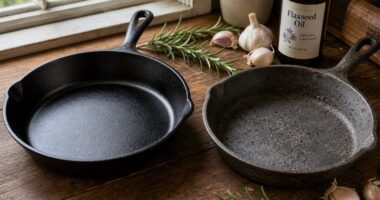
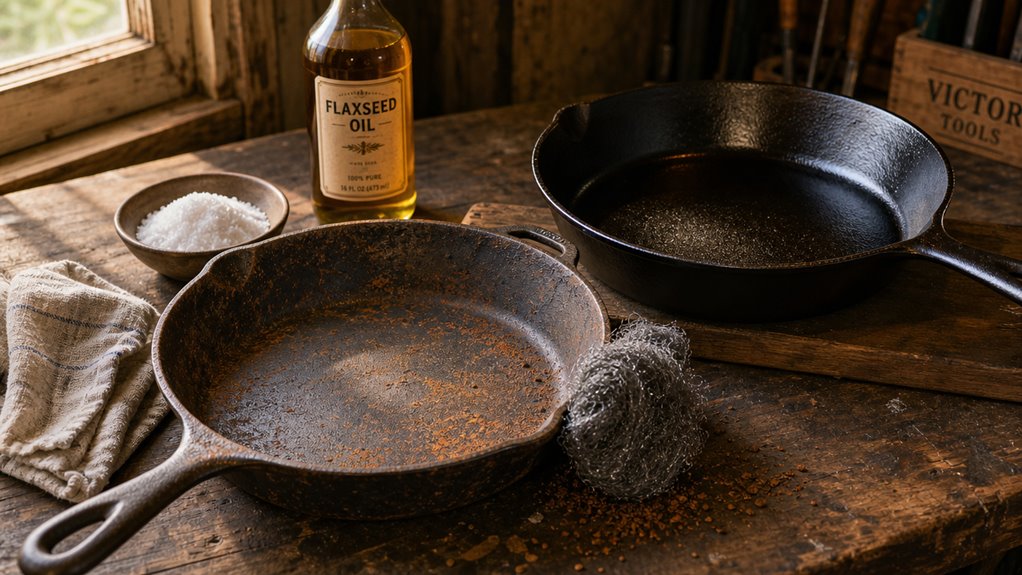
Restoring an Inherited Skillet Back to Working Condition
Restoring an inherited skillet means removing accumulated carbon buildup and surface rust, then rebuilding a protective seasoning layer through repeated oil applications baked at high heat. The condition of the iron when you start shapes how aggressive the cleaning process needs to be, since deep rust or thick carbonized residue calls for more effort than light surface oxidation. A vinegar-and-water soak loosens rust without the risk of pitting the iron, while a careful oven burn-off clears old carbon without thinning the walls or damaging the maker’s markings. Choosing a high-smoke-point oil and baking it on at around 450 degrees Fahrenheit builds a durable seasoning that bonds to the iron rather than sitting on top of it. The steps that follow cover each stage of this process in detail. Apply a very thin layer of avocado oil before the first bake to ensure optimal seasoning adherence.
Stripping Decades of Buildup Without Damaging the Iron
When you first lay eyes on a skillet that’s been gathering rust and polymerized oil for decades, the key is to assess the layer before you decide how to strip it.
If the black coating feels glossy and uneven, it’s likely polymerized oil rather than raw iron. For heavy, sticky buildup, a full strip to bare metal works best.
Start with a lye‑based oven cleaner: spray, seal in a plastic bag, and let it sit 24–48 hours. Wipe, repeat if needed, then rinse with hot water and dish soap.
Follow with a quick vinegar‑water dip to neutralize any lye residue. If the pan is thin‑walled or vintage, consider electrolysis instead; it lifts carbon and rust without abrasive scraping, preserving the iron’s integrity throughout the restoration. Seasoning builds a durable non‑stick layer through polymerized oil.
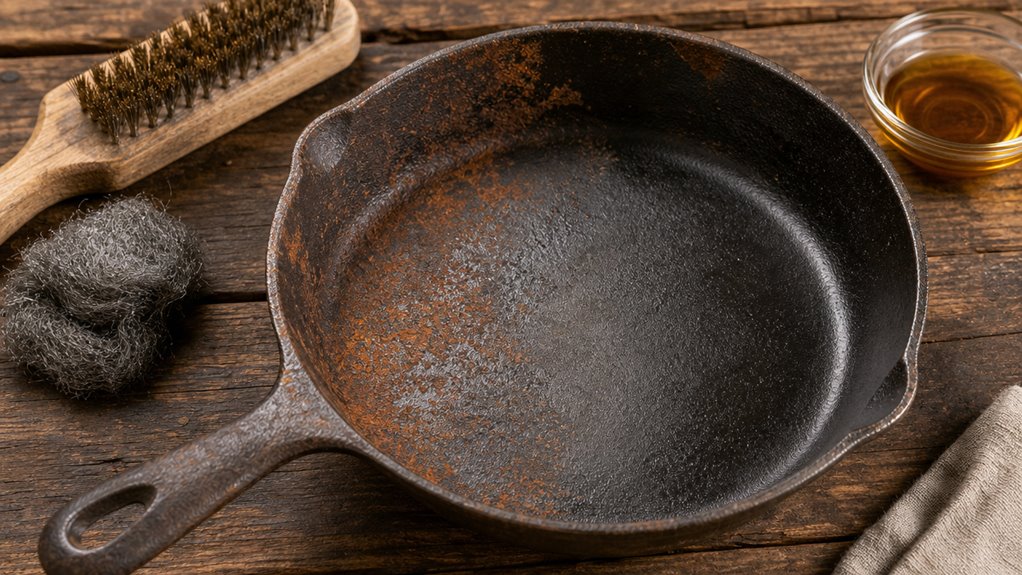
Treating Surface Rust and Re-Seasoning a Neglected Pan
After a quick visual check, you’ll see whether the orange‑brown film is just surface rust or if it’s pitted deeper.
If it’s only a thin layer, you can scrub it away without harming the iron. Use coarse kosher salt and a cut potato, or a steel‑wool pad, rinsing often until the metal looks grey‑black.
Then dry it completely—towel, then low‑heat stovetop for a few minutes—to stop flash rust.
Finally, protect the pan with a light oil wipe and move straight to seasoning.
- Apply a thin oil coat, bake at 450 °F for one hour.
- Cool, repeat 3–5 times for a durable layer.
- Store with a paper towel or light oil to keep rust at bay.
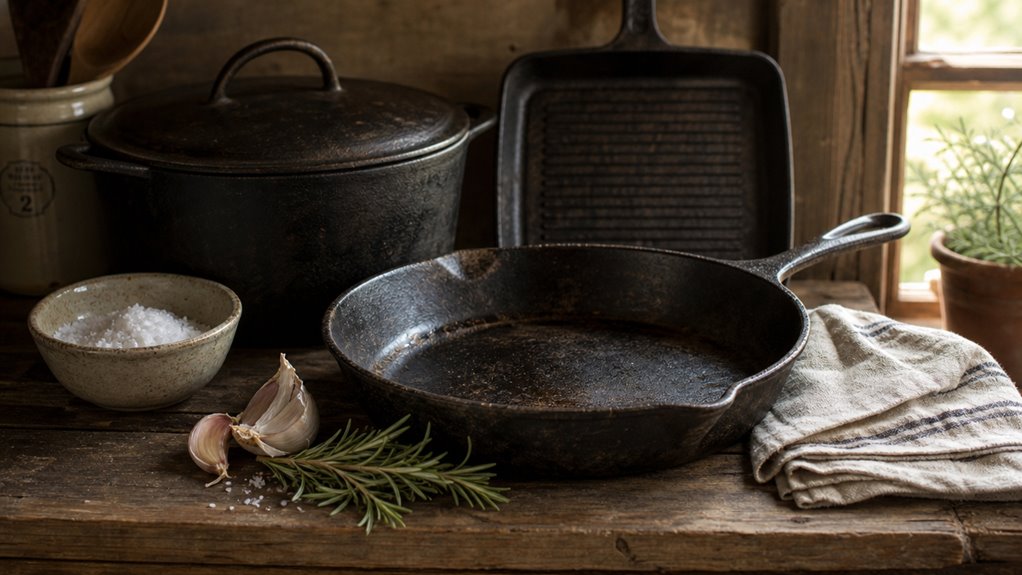
The Cast Iron Care Routine That Prevents Damage Over Decades
Preventing cast iron damage over decades depends on a consistent care routine built around moisture control, seasoning maintenance, and proper storage.
Wiping the skillet dry immediately after washing and applying a thin oil coat before it cools stops rust from forming, since residual moisture is the primary cause of surface deterioration.
Regular cooking renews the seasoning layer naturally, while long idle periods allow rust to develop even on oiled surfaces.
Storing cast iron upright in a ventilated spot, without heavy pots stacked on top, protects both the seasoning and the structural surface from unnecessary wear.
The details that separate a skillet lasting years from one lasting decades are worth understanding in full.
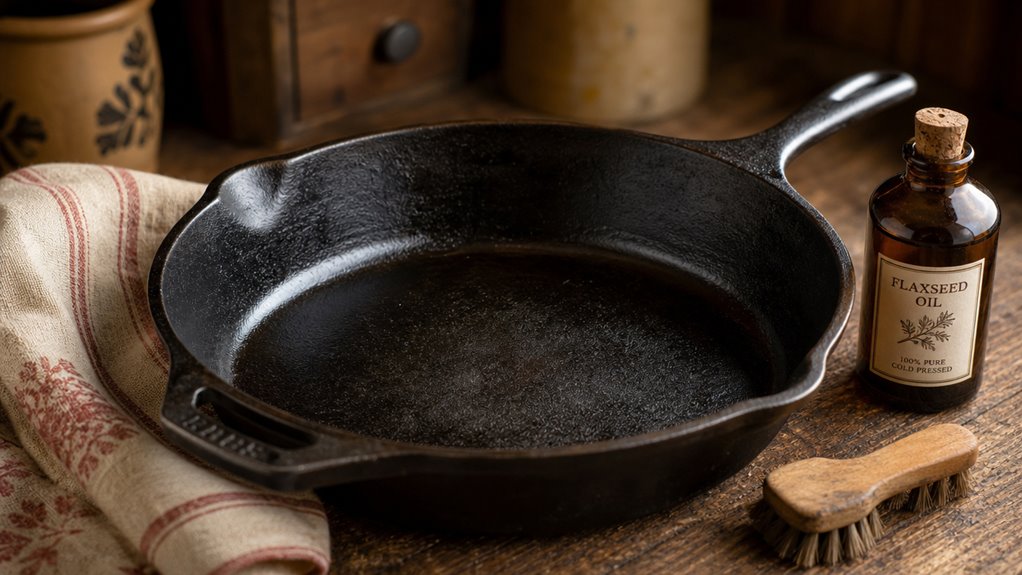
Drying, Oiling, and the Habits That Block Rust for Good
A quick towel‑dry followed by a brief warm‑oven bake is the simplest way to stop flash rust before it starts. You wipe the skillet with a lint‑free cloth, then pop it in a 200°F oven for a few minutes. The heat drives out moisture that clings to pores and hidden seams, so the next oil coat adheres cleanly.
- Dry fully – towel, then low‑heat or oven for 5‑7 minutes.
- Oil thinly – a few drops of neutral oil, spread until it looks almost dry.
- Heat‑assisted lock – keep the pan warm for a minute to help the oil polymerize.
This routine protects every surface, from interior to handle, and builds a resilient seasoning layer.
Consistent habits—no damp storage, gentle scrubbing, and regular light re‑oiling—turn your piece into a family heirloom that lasts generations.
Storing Heirloom Pieces Without Moisture or Stacking Damage
Storing heirloom cast iron means keeping it bone‑dry and giving it room to breathe, so rust never gets a foothold.
First, dry each piece thoroughly, then slip a paper towel inside to soak any lingering moisture.
Choose a cool, dark cupboard that stays dry; avoid under‑sink cabinets where humidity lingers.
Keep lids off, or store them separately, so trapped air can escape.
If you must stack, place a paper towel or thin cloth between pans and leave a small gap for airflow; a rack or divider works even better.
This simple long-term storage routine blocks rust and prevents seasoning damage.
Why Daily Use Preserves Seasoning Better Than Careful Storage
Storing a skillet dry and flat keeps rust at bay, but the real secret to a lasting coating is using the pan regularly.
Each time you heat a cast iron skillet and add a splash of oil, that oil polymerizes, thickening the polymerized oil layer. The heat‑fat cycle repairs micro‑gaps, so the protective film grows stronger instead of eroding while the pan sits idle.
- Cook something greasy at least twice a week – bacon, sausage, or fried veggies give the oil a chance to bond.
- After cooking, wipe a thin coat of high‑smoke‑point oil while the pan is still warm.
- Dry quickly on the burner, then store flat with a light oil film.
Frequent use keeps the seasoning fresh; occasional storage leaves it stagnant and prone to rancid residue and rust.
Documenting a Pan’s Condition and Care History When Passing It Down
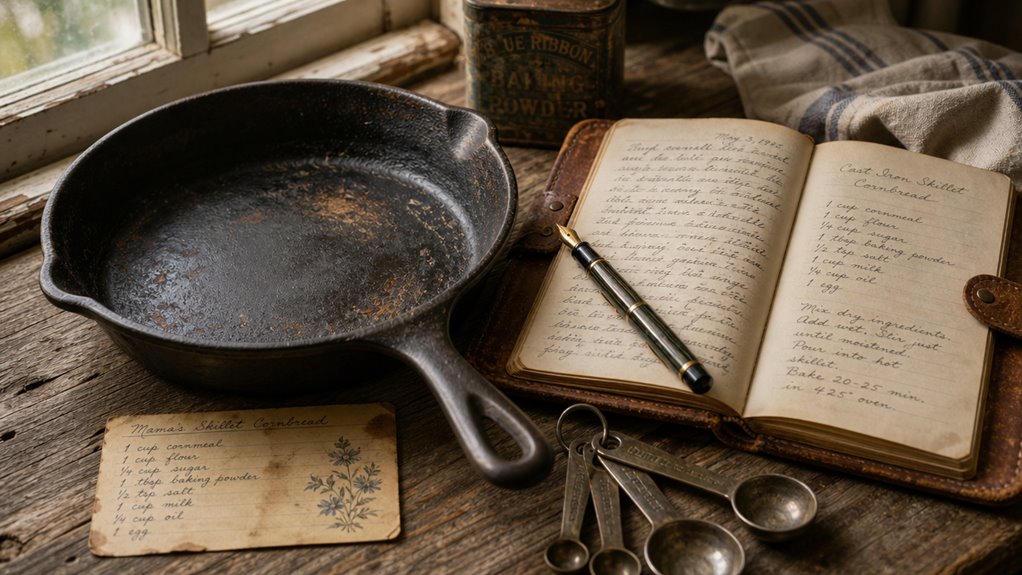
Documenting a cast iron pan’s condition and care history before passing it down means recording its markings, seasoning state, and maintenance routine in enough detail that the next keeper can continue the pan’s upkeep without guessing.
Foundry markings from makers like Griswold, Wagner, or early Lodge help trace a skillet’s lineage and can inform how the new owner approaches restoration or preservation.
The seasoning record matters because oil type and the number of coating cycles directly affect how the surface performs and what treatments are compatible going forward.
A photo log of the interior, exterior, and handle gives a visual baseline, while a brief care card covering the cleaning routine, drying method, and any repairs closes the gap between what the pan has experienced and what the next owner needs to know.
The details that follow cover how to build and organize this documentation thoroughly.
Identifying Vintage Griswold, Wagner, and Early Lodge Markings
A rust-spotted skillet can tell you more than its surface suggests. Its markings are a miniature history you can record before you start any restoration. For vintage cast iron identification, focus on the bottom and handle. Griswold pieces show three eras: early “ERIE” text, slant cross logo (1909‑1929), and block cross logo with or ring (1920‑1930). Wagner markings range from a simple arc “WAGNER” to the stylized “WAGNER WARE” script with “SIDNEY O.” beneath. Early Lodge pans lack a big logo; instead they reveal raised size numbers at 12 o’clock, triangular handle undersides, and inset heat rings.
- Note logo shape, font, and date range.
- Record pattern or mold numbers at 6 o’clock.
- Photograph the heat ring or its absence.
These steps give you a clear provenance without guesswork.
Recording Seasoning and Care History So the Next Owner Continues It
When you hand over a family skillet, the first thing you should do is capture its current state before any new seasoning or cleaning steps.
Take clear photos of the cooking surface, exterior, handle, and underside, labeling each with date, size, brand, and era.
Write a brief condition‑at‑transfer note: color, sheen, rust spots, pits, and any warping.
List the last full strip‑and‑reseason cycle, the temperature (450‑500 °F) and number of coats, and the oil you used, whether canola or grapeseed rather than a low-smoke-point oil.
Record daily care: scrape, rinse, towel‑dry, heat briefly, then oil lightly.
Mention any rust fixes, vinegar soak times, or steel‑wool scrubs.
This log lets the next owner keep the seasoning alive and the pan’s history intact.
When to Restore an Heirloom Versus Letting a Pro Handle It
Restoring a cast iron heirloom at home is reasonable when the damage is limited to light surface rust or a superficial crack that stops at the surface and doesn’t compromise the metal’s structural integrity.
A simple test helps clarify the boundary: if a metal ruler runs smoothly along a crack without catching, electrolysis is often a viable DIY method for removing rust without damaging the pan.
When the crack penetrates all the way through, or the metal shows warping, deep pitting, or fire damage, a specialist is better positioned to evaluate whether the piece can be salvaged and to protect any historic markings still present.
Severe corrosion changes the structural equation in ways that surface treatment alone can’t resolve.
The sections that follow examine these conditions in closer detail.
DIY Electrolysis Versus Sending a Cracked Piece to a Specialist
If the skillet’s surface is just rusted or coated with old seasoning and the casting is still solid, a DIY electrolysis bath can clean it without harming the markings you cherish. You’ll need a plastic tub, washing soda, and a battery charger; keep the setup outdoors because hydrogen gas will collect. Monitor the current and stop when the rust lifts, then rinse and dry promptly.
If you spot a cracked or hairline fracture, skip the bath and call a specialist. They can assess whether the crack is cosmetic or structural and advise on welding or metal stitching, tasks beyond a hobbyist’s tools.
When to choose DIY vs. pro:
- Rust‑only, no cracks → electrolysis works.
- Visible crack or warping → specialist needed.
- High‑value, rare piece → professional conservation.
When DIY Electrolysis Restores a Pan and When a Crack Ends It
Electrolysis can pull rust off a heirloom skillet without scratching the maker’s logo, but it won’t fix a crack that runs through the casting.
You set up a plastic tote, add water, washing soda, a 12‑volt charger, and a steel anode.
The pan hangs free, the negative lead on the skillet, the positive on the anode.
Bubbles rise as rust loosens; after 24‑48 hours you wipe, wash, dry, and season.
This works for bare cast iron and removes surface grime, but it never seals a fracture.
If you see a crack, inspect for warping or separation.
A cracked piece can stay a display, but cooking with it risks safety.
In that case, retire the pan or send it to a professional who can weld or replace the casting.
Frequently Asked Questions
Can I Use Stainless Steel Wool on Vintage Cast Iron Without Harming It?
Yes, you can use fine‑grade stainless steel wool on vintage cast iron, but scrub gently, limit pressure, and re‑oil immediately afterward to protect the seasoning and prevent flash rust.
What Temperature Is Safe for Seasoning a 19th‑Century Skillet?
Season at 450-500°F for an hour; repeat 3-5 thin coats. Keep the pan dry, wipe oil lightly, and avoid sudden temperature spikes.
How Do I Identify the Original Maker’s Mark on a Rusted Pan?
You’ll spot the maker’s mark by scrubbing gently with hot water and coarse salt, then drying and holding the pan under angled light; look for raised or incised letters, numbers, or logos on the bottom, sidewalls, or handle.
Is It Okay to Store a Seasoned Skillet in a Humid Basement?
A humid basement is one of the worst places for a seasoned skillet, since lingering moisture accelerates rust. You can keep it there if you dry it thoroughly, oil it lightly, and monitor humidity regularly.
Can a Small Hairline Crack Be Repaired With Epoxy Before Passing It On?
Yes, you can patch a hairline crack with epoxy, but you must clean, roughen, and degrease the area, apply a reinforced bond, and fully disclose the repair before handing the skillet down.
Conclusion
You’ve now got a skillet that can outlast generations if you treat it right. Keep drying, oiling, and heating it after each use, and the seasoning will rebuild itself. A light vinegar soak and a few thin oven coats will erase rust without cracking the metal. Document the maker’s marks and any repairs, then store it with a thin oil film and airflow. Follow this routine, and future generations will inherit more than a pan. They’ll inherit a reliable piece of history.
Michael Haralson is an author, analyst, and founder of MHaralson, a publishing company. He spent five years with a San Diego catering company, cooking for events of up to 600 guests and working part-time in the main kitchen. He writes about the balance between kitchen tools that cost too much and those that fail too soon.