Cast iron cookware: The pieces you inherit improve with every use, and passing them down starts with understanding what makes them last.
Three things keep cast iron alive across generations:
- Seasoning — the polymerized oil layer that builds a natural, non-stick surface over decades of cooking
- Rust prevention — the active enemy of cast iron that destroys seasoning and pits the cooking surface permanently
- Structural integrity — the physical condition of the pan, including cracks, warps, and bare metal spots
Cast iron holds memory. Every meal cooked in a Lodge L8SK3 skillet adds a layer of polymerized carbon to the surface. That surface belongs to the pan, not to the dishwasher. A dishwasher strips seasoning fast. Hand-washing with warm water and a stiff brush protects what generations built.
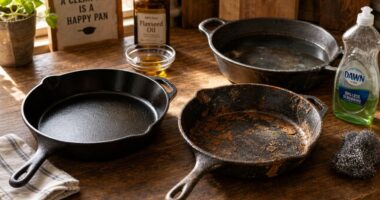
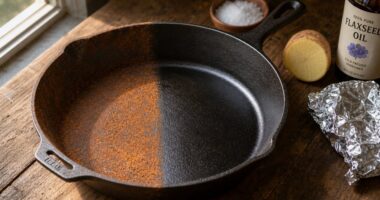
When a pan arrives from storage or an estate, inspect it immediately. Check for hairline cracks, warping along the cooking surface, deep pitting, and bare gray metal. Warm the pan gently, then apply a thin coat of Crisco, Crisbee, or flaxseed oil while the metal is still warm. The oil bonds to the surface.
For light rust, a mix of white vinegar and steel wool removes oxidation in controlled rounds. Do not soak longer than thirty minutes. For deep red rust, electrolysis using a battery charger and washing soda pulls oxidation from the metal without damaging the iron itself.
Local antique hardware stores, such as Berea Hardware in Kentucky or similar regional shops, often carry old-stock cast iron worth restoring.
Interesting Fact: A single cast iron skillet, properly maintained, can outlast its original owner by over 100 years — several pieces made by Griswold Manufacturing in Erie, Pennsylvania before 1957 are still in active daily use today.
Key Points
- Explain why cast iron lasts: no coating to peel, and seasoning polymerizes into a rebuildable nonstick layer.
- Inspect inherited pans first for cracks, warps, pitting, flaking seasoning, and bare-metal spots before cooking.
- Remove surface rust with vinegar-and-steel-wool, then dry thoroughly and re-season at high heat.
- Use electrolysis only for heavy red rust, converting it to black rust, then rinse, dry, and re-season safely outdoors.
- Establish a care routine: wipe after cooking, avoid soap, oil lightly while warm, store dry, and keep seasoning maturing.
Why Cast Iron Becomes a Heritage Piece (And Most Cookware Doesn’t)
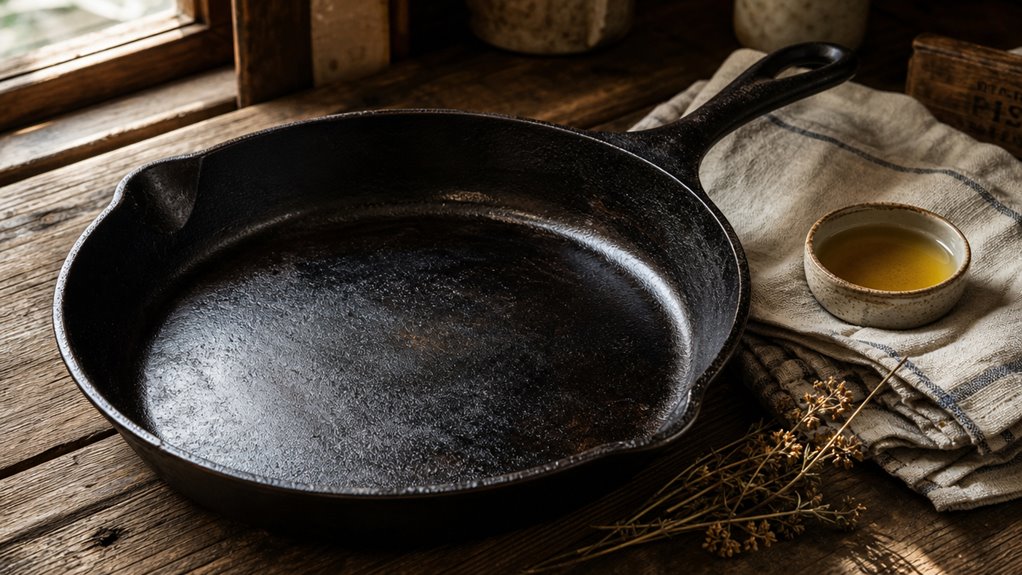
You keep cast iron as a heritage piece because it doesn’t “wear out” like stainless can pit from acids or like non-stick coatings that eventually peel or burn off. As you cook, the seasoning keeps maturing and that sand-cast texture helps oil grab and stay put, so the surface gets better with repeated use instead of resetting every few years. That’s why a Lodge L8SK3 you buy today can be the grandchild’s first pan, since the foundry process and re-seasonability are the real heirloom—your one limitation is you can’t toss it in the dishwasher and expect the seasoning to survive. This “keep cooking, keep seasoning” story is also why cast iron has endured for centuries, from its early use in mold casting in 5th century BCE China onward. One reason it holds up for generations is that cast iron’s heat capacity lets the pan store and release heat steadily, making it ideal for high-heat searing and cooking that doesn’t quickly exhaust the cookware.
The Material Reason Iron Outlasts Stainless and Non-Stick
Why does cast iron outlast stainless and non-stick? You’re buying heritage durability: solid iron won’t warp like thinner stainless, and it has no coating to scratch off. Its seasoned surface resists acids, and if rust shows up, restoration is straightforward. [1] Heat retention [2] no coating failure [3] bonds seasoning to metal [4] re-seasoning beats replacement. Cast iron seasoning at high temperature creates a non-stick layer that can be rebuilt instead of replaced. Because cast iron heats evenly and holds temperature better than most cookware, it stays more consistent for sears and long cooks than stainless.
The Sand-Cast Surface That Improves Across Generations
Ever wondered why some cast iron feels “better” the longer you live with it, instead of just developing wear? It’s your shell sands starting point: tighter grains and resins, plus better molding, give a steadier surface finish. Shell sands produce among the best surface finishes Over time, daily cooking matures that patina for inheritance. shell sands That stability helps the surface wear more evenly, which is part of why well-made pieces age into a smoother, more consistent cooking texture.
| Factor | What changes | Result |
|---|---|---|
| Shell sands | fine grains | smoother |
| Resin content | sealed gaps | fewer flaws |
| Mold jolt | even molds | lower RMS |
Why a Lodge L8SK3 Today Can Be the Grandchild’s First Pan
A Lodge L8SK3 can be the grandchild’s first pan because cast iron doesn’t “wear out” the way most cookware does, it keeps improving as you cook on it. You’re building heritage, not maintenance drama. Think about: 1) pre-seasoned readiness 2) seasoning that polymerizes 3) heat up to 1000°F 4) easy hand-wash. A pre-seasoned Lodge L8SK3 10 3/4″ skillet is currently listed at $59.00, making it a practical starting point today for a long-term heirloom. Limitation: it’s heavy at about 5 lbs for daily use.
How an Inherited Pan Reaches You (And What to Inspect First)
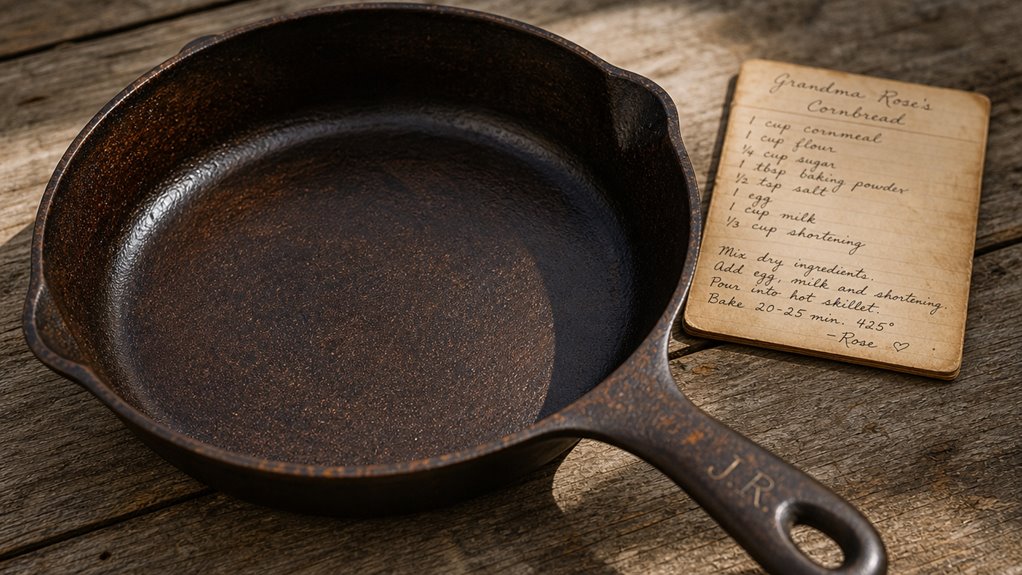
When your inherited skillet shows up, do a five-minute check: look for cracks, warps, and pitting on the cooking surface, then test the seasoning layer for flaking or bare-metal spots and make sure the handle feels solid. If you see surface rust on a 60-year-old pan, don’t panic—on intact cast iron it’s usually just a cleanable layer, not permanent damage. And remember the difference: patina is the dark, mature protection you want to keep, while damage shows up as sticky residue that won’t scrub clean or pits that catch your fingernail. (Seasoning and cooking factors influence iron leaching)
The Five-Minute Heritage Pan Inspection
How do you know the heirloom you just unwrapped is still safe to cook with, not just pretty sitting in someone’s garage? Do a quick heritage inspection: check cracks/warps under flat light, confirm magnet sticks, sniff musty residue, then feel for gritty or sticky films. Look for even seasoning, loose handle rivets, and maker marks. Temperature-control matters, because cold/dirty conditions can contribute to food-safety risks when the pan is used after storage or transport.
- Flat-light crack check
- Magnet test everywhere
- Smell and touch check
- Bottom markings note
Why Surface Rust on a 60-Year-Old Pan Is Almost Always Recoverable
Surface rust on a 60-year-old cast iron pan usually looks scarier than it is, and you can tell fast once you run your hands and eyes over it.
With intact iron, surface rust is almost always recoverable, and you’re not fighting the metal itself; you’re removing exposed layers and rebuilding seasoning through cast iron restoration. In other words, seasoning is what’s been compromised, not the iron underneath.
For inherited cookware, check for cracks or rust-through, then scrub, dry, oil, and re-season.
The Difference Between Patina and Damage
You’ll hear “patina” and “damage” tossed together, but they behave differently once you touch the pan. For patina vs damage, trust patina indicators, not panic. Inherited patina looks dark and glossy, smooth, and fairly uniform. Damage pits look rough and uneven. Inspect: 1. Pewter = lighter patina 2. Black gloss = mature 3. Uniform = aging 4. Pitting = corrosion. Newly cast iron grates begin patination with initial contact with their environment, and the timing depends on local moisture and foot traffic. Because patina is a deliberate, man-made bioplastic, it develops over time from sustained seasoning rather than appearing instantly like a coating that can be scratched off.
Restoration Choices for Heritage Pieces You’ll Cook With Daily
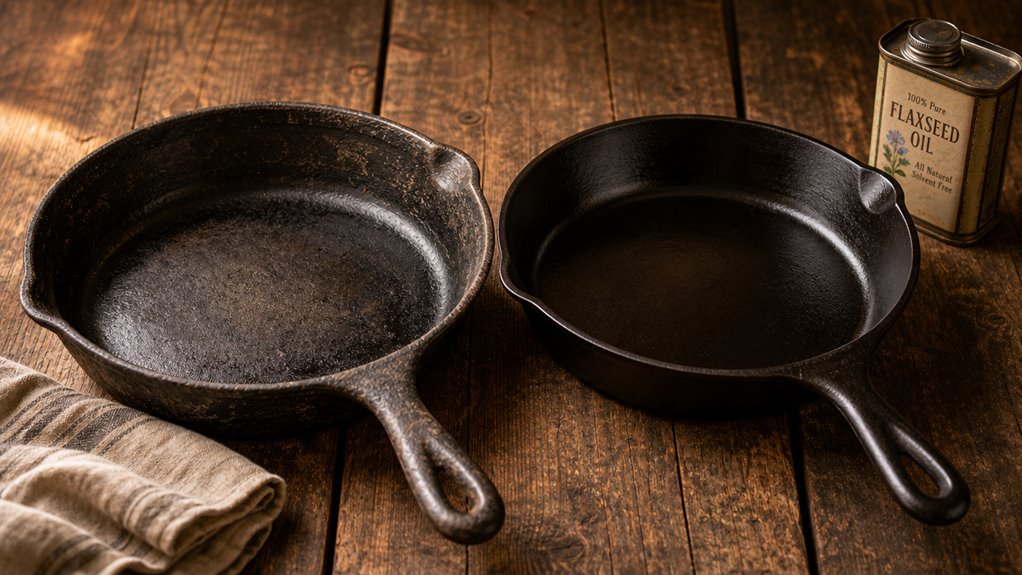
You can usually clean an inherited skillet with vinegar and steel wool, but you don’t want to grind through solid metal, so you stop as soon as the rust and flaky seasoning quit showing up.
If you’re dealing with heavy rust in the nooks or you’ve got a lot of surface to even out, electrolysis is worth the 12-hour setup because it pulls rust out without harsh abrasion—just know you’ll still have to dry and season afterward.
For daily cooking, restoring a heritage Lodge (instead of paying a $200+ premium replacement) keeps the original patina story and structure in your hands; Check for Lead is the one early step you should do first if the piece ever came from a house or garage fire.
The one real limitation is that you can’t fix structural cracks, so you inspect first.
The Vinegar-and-Steel-Wool Method for Most Inherited Pans
The vinegar-and-steel-wool method works well for most inherited cast iron because it targets rust without immediately wrecking what makes the pan a heritage piece. For your inherited cast iron, do a vinegar-soak (50/50) 30–60 minutes, scrub, rinse, repeat up to 6 rounds, using 000/0000 steel wool care. Keep it under 1–2 hours so the vinegar has time to loosen and remove serious surface rust before it starts to attack the iron itself. One-to-one ratio the vinegar-to-water mix helps pull out rust that remains after prior cleaning, then dry fast, wipe on oil, and season.
When Electrolysis Is Worth the 12-Hour Setup
If a skillet inherited from decades of use shows red rust you can’t scrub away in a vinegar pass, electrolysis earns its 12-hour setup time. For heritage care restoration, it converts red rust to black using washing soda water, a 12-volt charger, and a sacrificial anode. Suspend the pan, clamp connections, watch bubbles, then rinse, dry, and re-season. Limitation: you need safe outdoor ventilation.
Why Restoration of a Heritage Lodge Beats a $200 Premium Replacement
Restoring a heritage Lodge skillet usually beats paying $200+ for a “new premium” model because you keep the thicker, more forgiving vintage iron and rebuild the surface on purpose instead of buying someone else’s factory finish.
With heritage cast iron restoration, you get cost savings you can feel:
- $50–100 pro
- DIY under $30
- $80–150 resales
- 50+ year lifespan
Limitation: rust must be tackled fast after it blooms.
The Care Routine That Preserves Across Decades
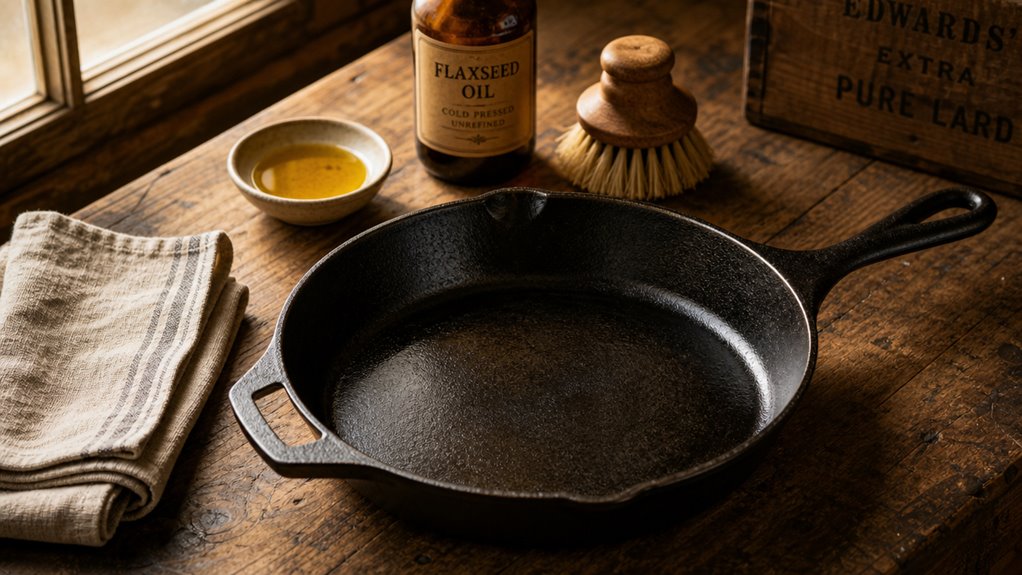
After you cook, you wipe the Lodge clean right away with a paper towel, skip soap, and add a light coat of oil while the pan’s still warm so the protective layer keeps getting renewed.
When you store it, you keep it dry and avoid prolonged air exposure or stacking that scratches the seasoning, because moisture and abrasion are what turn a “rust spot” into a repeat project.
And since you’ll actually use it, you let active cooking beat display storage every time: daily heat and fats rebuild seasoning naturally, while a wall-hanger only has time to rust.
The After-Cook Wipe That Lodge Owners Sustain for 50 Years
That after-cook wipe is the routine that keeps Lodge cast iron worth handing down. In your heritage care, you wash warm with mild soap, brush residue, and dry fast. Then you heat briefly, wipe 1/4 tsp oil inside and out, and wipe again until dry. This after-cook wipe supports long-term seasoning.
- Wash warm, not soak
- Dry fully
- Heat to evaporate
- Thin-oil wipe, no drips
The Storage Habits That Stop Generational Rust
Once you’ve washed and dried your cast iron, you can stop the rust problem before it starts by storing it like moisture is actively trying to win. Completely dry, warm it on low heat, then thin-oil with a wiped sheen. Store in a dryEnvironment, lid-free, and use properStacking with paper towel between pans.
| Habit | Do | Don’t |
|---|---|---|
| Drying | towel, rack | store damp |
| Oil | thin sheen | puddles |
| Storage | cool cabinet | above stove |
Why Active Cooking Beats Display Storage Every Time
Active cooking beats display storage because you’re constantly rebuilding the protective layer instead of relying on a static “seasoning coat” to hold up on its own. With heritage in mind, you run hot, cook often, then wash, dry on the burner, and oil thin. Keep momentum:
- Heat dries moisture
- Fat polymerizes
- Rust stays rare
- Thin seasoning top-ups
Display storage invites months of rust.
Building the Pan You’ll Pass On (Starting Today)
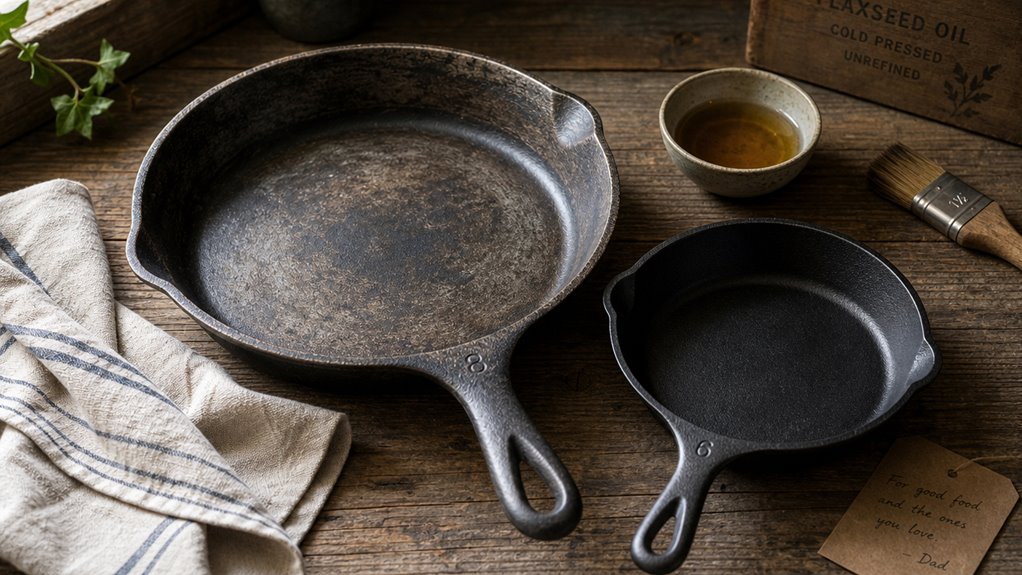
Start with a day-one heirloom starter like the Lodge L8SK3, because the Tennessee foundry continuity means you’re building a pan you can realistically keep in rotation for decades, not just something you “own.” As you cook, make a simple documentation habit—photos of the pan, notes on what you cooked, and where it came from—because that paperwork turns use into heritage instead of guesswork.
When your first pan is holding steady, add a second heritage piece (often a similar-size skillet or a matching companion) only when you can store it dry and you’ve got the same care routine in place.
The L8SK3 as Day-One Heirloom Starter
Your day-one heirloom starter is Lodge’s L8SK3, a 10.25-inch pre-seasoned cast iron skillet you can actually cook with the same week you buy it. For inheritance, this day-one heirloom turns pre-seasoned cast iron into real patina.
Start here: 1) cook weekly 2) wash warm, no dishwasher 3) dry low heat 4) oil thin.
Limitation: don’t skip drying or rust shows.
The Documentation Habit That Multiplies Heritage Value
The best way to make an heirloom feel “real” to the next person isn’t just that it cooks well, it’s that you can document what you did and what you started with. Before cleaning, photograph provenance: condition, markings, and pattern/molder’s marks. After restoration, record changes and any restored rust areas. Keep a simple notes file and save receipts. That documentation turns guesses into proof. Limitation: photos can’t fix missing markings.
When to Add a Second Heritage Piece (And Which One)
After you’ve built real momentum with your first heritage pan and you’ve got your documentation habit running (photos before/after, simple notes, receipts), you’ll notice when the single-piece routine starts to feel limiting.
Add a second piece after 6–12 months, at 50+ steady uses, during seasonal peaks.
Aim for inheritance continuity and seasoning synchronization:
1) Match Lodge/Field brand
2) Size step-up (10→12)
3) Same raw cast grade
4) Rotate weekly between pans
Frequently Asked Questions
Can I Use an Inherited Pan Before Removing Old Rust?
Rust must be removed before cooking in an inherited pan. Rust flakes contaminate food and spreads across iron surfaces. Remove rust by scrubbing or soaking in vinegar, then dry and season the pan completely before use.
Which Damage Is Permanent: Cracks, Warping, or Pitted Seasoning?
All three — cracks, warping, and pitted seasoning — are permanent damage. Cracks cannot heal. Warping is locked in after thermal shock occurs. Pitted seasoning cannot be fully restored through reseasoning.
How Do I Preserve True Patina While Still Removing Residue?
Scrape residues first before washing. Use hot water and mild soap briefly. Apply 0000 steel wool or chain-mail only on rusty spots. Dry immediately. Rub a thin oil film to keep seasoning intact.
Is Oven Seasoning Enough, or Must I Cook to Build Heirloom Seasoning?
Oven seasoning creates only a base layer. Cooking with fats over months builds true heirloom patina. Both steps are required.
What’s the Best First “Heirloom Starter” Pan to Buy Today?
What pan should I buy as a first heirloom starter?
Lodge L8SK3 cast iron skillet.
Where is it made?
South Pittsburg, Tennessee, USA.
How much does it cost?
Typically under $30.
Does it come pre-seasoned?
Yes, it arrives factory pre-seasoned.
How long will it last?
Decades, potentially generations.
How do I build patina on it?
Cook with it daily using oils and fats.
Why is it considered an heirloom piece?
Its durability and improving quality over time make it passable to future generations.
Conclusion
If you treat inherited cast iron like a tool, not a project, it’ll keep earning trust. Inspect the metal, clean off loose rust, and build seasoning with heat and thin layers of oil. Then live with it: dry promptly, avoid soaking, and cook through the stubborn spots instead of stripping them away. Over time, the pan becomes a lived-in map of your kitchen. When you pass it on, you’re handing down habits and a surface that still works.