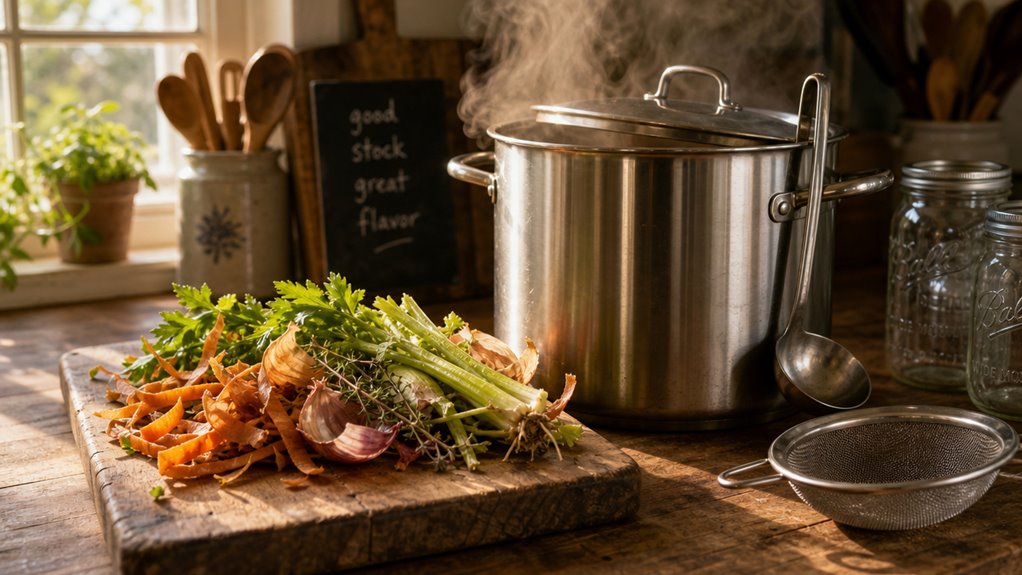
Vegetable scrap stock is a low-sodium, umami-rich broth made by simmering collected kitchen scraps, such as onion skins, carrot peels, celery ends, mushroom stems, and herb stems, with water for roughly 45 to 60 minutes. The result replaces boxed stock at a fraction of the cost, typically under $30 a month in total kitchen overhead.
- Freezer bag collection enables a continuous scrap-saving habit by holding vegetable trimmings between cooking sessions until enough accumulates for a full batch.
- Umami-rich scraps such as mushroom stems and onion skins contribute depth of flavor that makes the finished broth suitable as a direct substitute for store-bought stock.
- Brassica leaves and potato skins introduce bitterness or cloudiness and should be excluded from the scrap mixture to keep the broth clean and balanced.
The simmering process extracts soluble flavor compounds from vegetable scraps over 45 to 60 minutes. Straining the liquid removes solid material, and seasoning is added at the end to maintain sodium control. Freezing the finished stock in around 2-cup portions preserves usable portions for individual recipes.
Scrap stock stays viable in the freezer for roughly ten months when stored in airtight containers. This shelf life makes batch production practical, since a cook can simmer and freeze stock infrequently without worrying about spoilage.
Consistency in flavor depends on scrap composition. Batches built around a similar ratio of aromatics, such as onion skins, celery, and carrot peels, tend to produce a more predictable broth than batches with highly variable or over-browned scraps.
According to food preservation research, vegetable-based broths stored at typical freezer temperatures of around 0°F often retain acceptable flavor and quality for up to ten to twelve months before noticeable degradation occurs.
Cheap or expensive is the wrong question. Cost per use is the honest one. Check out our new Calculator.
Cost-Per-Use Calculator →Key Points
- Collect and freeze onion skins, carrot peels, celery ends, herb stems, and mushroom stems in a zip‑top bag for easy stock‑making.
- When the bag is full, simmer the scraps in water for 45–60 minutes, then strain for a low‑sodium, flavor‑rich broth.
- Portion the strained liquid into 2‑cup freezer bags or ice‑cube trays; label with date and store up to ten months.
- Control sodium by adding salt only at the end, and avoid bitter scraps like brassica leaves, potato peels, and over‑cooked onion skins.
- Use the homemade stock to replace boxed broth, cutting grocery costs and keeping monthly expense under $30.
How Veggie Stock Turns Kitchen Scraps Into Flavor
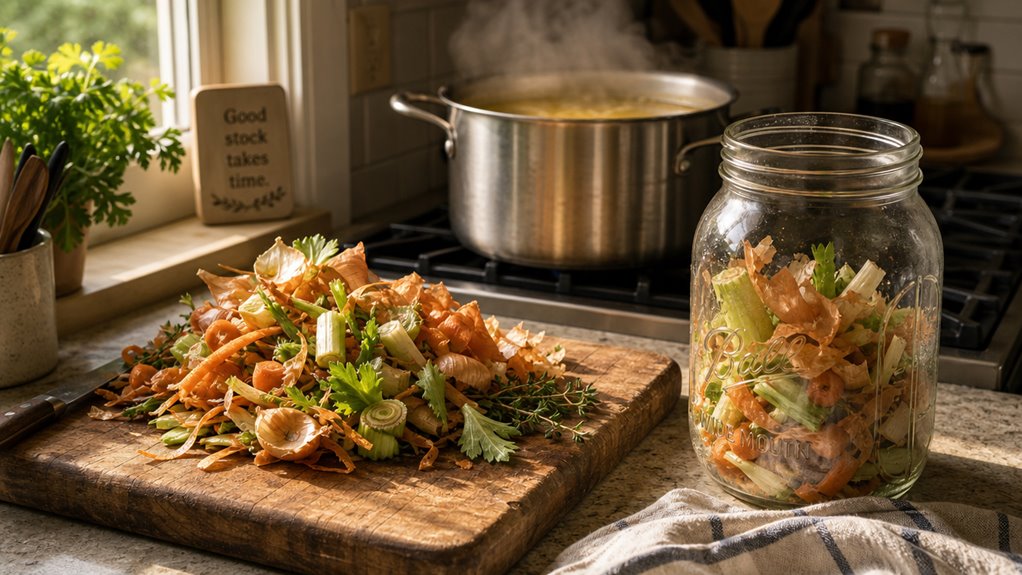
Vegetable stock converts kitchen scraps into a low-sodium, flavor-rich cooking base by extracting glutamates and natural sugars from vegetable trimmings through gentle simmering.
Not all scraps contribute equally. Onion skins, carrot tops, celery ends, and herb stems build depth, while brassica leaves and overripe peels tend to introduce bitterness.
Collecting usable trimmings in a freezer bag over time eliminates the need for boxed stock and keeps costs low, since a full bag simmered in just enough water for around 45 to 60 minutes yields a concentrated broth ready to portion and freeze.
The quality of the final stock depends largely on which scraps are included and how long the simmer runs.
What follows covers the techniques and decisions that shape a reliable result.
Adding herb stems to the mix further enhances the aromatic complexity of the broth.
The Trimmings and Peels Worth Saving
Usually you’ll find the best flavor in the bits you’d normally toss: onion skins, carrot tops, celery ends, and even a few mushroom stems. Those trimmings are the core of a good broth, so you should save veggie scraps for stock whenever you can. Wash the allium skins and celery leaves well, then toss them into a freezer bag. Add carrot peels, parsnip ends, and a handful of mushroom stems for depth. When the bag is full, dump it into a pot, cover with water, and simmer for an hour. Strain, season to taste, and freeze in portions. That is all it takes to make a low-sodium vegetable stock from scraps, with no waste. Avoid cruciferous vegetables because they can impart bitterness.
Why a Freezer Scrap Bag Beats Buying Vegetables to Simmer
Collecting trimmings in a freezer bag turns everyday waste into a ready‑to‑use flavor base, and it does so without the extra cost of buying fresh vegetables just for stock.
A freezer scrap bag lets you stash onion skins, carrot tops, celery ends, and herb stems the moment you cut them, so you never need a separate shop trip for simmering veg. Over time the bag fills, you dump its contents into a pot, and you simmer until the liquid halves, with no extra grocery bill, just water and a pinch of salt.
The batch yields multiple quarts that you portion and freeze, extending usability for months. This frugal kitchen hack cuts recurring expenses, trims waste, and gives you control over flavor without the hidden additives in boxed broth. Using stock helps retain water‑soluble vitamins that would otherwise leach into discarded boiling water.
What Scraps Make the Best Stock (And Which to Skip)
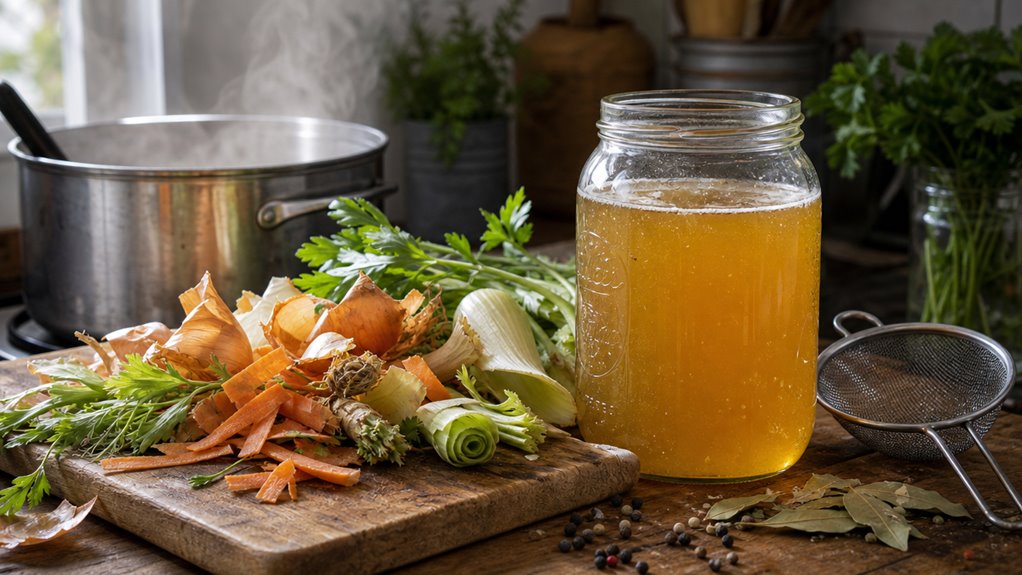
Vegetable scraps vary widely in how much flavor and clarity they contribute to homemade stock, and choosing the right ones determines whether the finished broth is clean and aromatic or bitter and murky.
Onion skins, carrot tops, celery ends, herb stems, and mushroom caps release depth without overpowering the liquid. Scraps like eggplant skins, large cabbage cores, and heavy quantities of potato peels introduce bitterness or a cloudy, starchy quality that’s difficult to correct.
The balance between sweet, aromatic scraps and more neutral add-ins shapes how versatile the stock will be across different dishes. What follows covers the distinctions that matter most when building a reliable freezer-bag habit. Adding peel and stem scraps such as carrot skins and celery leaves enhances flavor while keeping the broth clear.
Onion Skins, Carrot Tops, Celery Ends, and More
You can toss the outer onion skins, carrot peels, and celery ends straight into a freezer bag without worrying about waste; they’re the backbone of a free‑cost broth that still tastes like a store‑bought stock. Use the papery skins for color and subtle sweetness, but keep them moderate so the stock stays clear. Add carrot peels for body and a touch of natural sugar, and sprinkle in a tiny pinch of carrot tops, no more than 1/16 of the mix, to avoid bitterness. Celery ends give that classic mirepoix backbone without overwhelming the flavor.
By balancing these scraps you’ll reduce food waste and produce a reliable veggie stock that replaces pricey boxed versions.
- Onion skins: golden hue, mild sweetness
- Carrot peels: sweet, thickening, cheap
- Celery ends: aromatic, savory, essential base
The Scraps That Turn a Stock Bitter or Muddy
When you toss cruciferous stems, bitter greens, or a handful of peppercorns into a simmering pot, the broth quickly picks up a harsh, lingering bite that masks the fresh notes you’re after. Skip cabbage ribs, kale ribs, and turnip greens; their sulfur compounds turn a clear stock into a bitter mess.
Peppercorns should stay under a dozen, and woody herb stems like mature rosemary become resinous after an hour. Potato peels and beet skins cloud the liquid and add unwanted color. Overcooked onion skins or charred garlic skins also muddy flavor.
Instead, stick with onion skins in moderation, carrot tops, celery ends, and mushroom stems. These give depth without bitterness, keeping your stock bright and clean.
Why Homemade Veggie Stock Beats the Boxed Kind
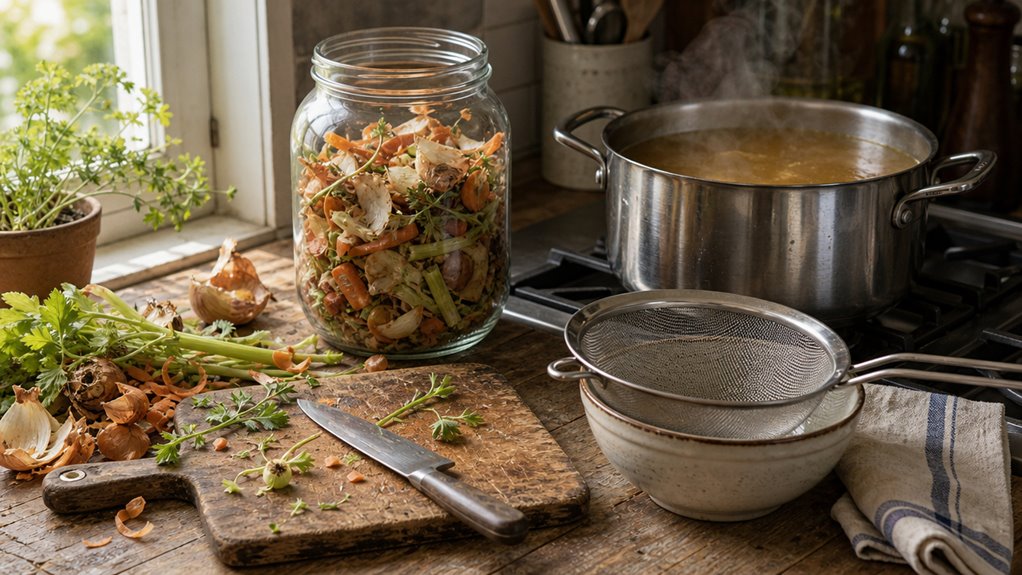
Homemade vegetable stock delivers richer flavor than boxed versions because fresh vegetable scraps release natural glutamates that commercial processing typically can’t replicate.
Controlling the simmer at home means sodium levels stay adjustable, and no hidden additives enter the pot. Boxed stock carries a recurring cost every time the pantry runs low, while a freezer bag of saved scraps reduces that expense toward zero over time.
The gap between the two options comes down to ingredient quality, seasoning control, and how the liquid is built from scratch. What follows covers the details that make the difference.
Flavor, Salt Control, and Cost Over Time
Because you control what goes into the pot, you decide the flavor, the salt, and the cost. You can pick onion skins, carrot tops, and celery ends for a classic base, then brown them for depth that boxed stock can’t match. Adding herbs lets you dial umami up or down, and you can leave the broth completely unsalted, keeping sodium in check for heart‑healthy meals. Over time the savings stack: each batch is free vegetable stock, so you never pay for a pricey container that already contains sodium and hidden additives.
- Choose aromatics, skip bitter brassicas, avoid starchy peels.
- Simmer 30‑60 minutes for balanced intensity; longer for reduced broth.
- Season at the end, not in the pot, to prevent cumulative oversalting.
Why Scrap Stock Costs Nothing and Boxed Stock Costs Every Time
You can turn the peels and ends you’d normally toss into a pot of water, let them simmer, and end up with a batch of stock that costs nothing but time.
Homemade vegetable broth uses only the scraps you already have, so the ingredient cost is zero; you just add water and heat.
Boxed stock, by contrast, carries a price tag for each carton because manufacturers must pay for additives, packaging, and transport.
Those extra costs add up every time you reach for a shelf‑stable cube.
By collecting onion skins, carrot tops, and celery ends in a freezer bag, you eliminate the recurring purchase and cut food waste.
The result is a clean, low‑sodium broth that you control, stored in reusable containers, and ready whenever you need it.
How to Make and Store It Without Fuss
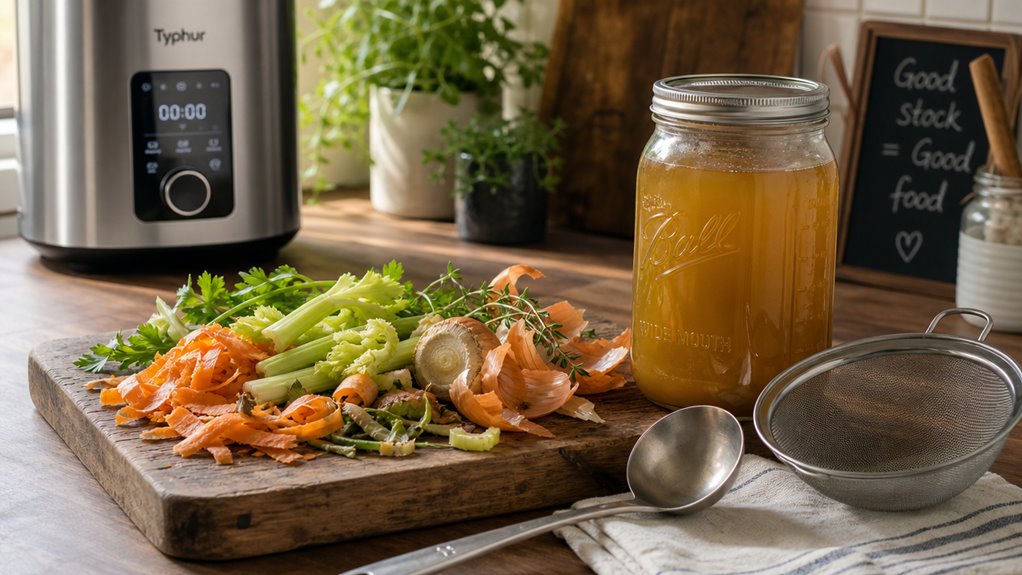
Making and storing vegetable stock at home requires only a few common kitchen tools and a habit of saving scraps that would otherwise go to waste. Onion skins, carrot tops, and celery ends collected in a freezer bag form the base of a stock that simmers gently for around 45 to 60 minutes before straining through a fine-mesh sieve.
Pouring the finished liquid into freezer-safe containers and labeling each portion keeps the process organized and extends shelf life to around ten months. The method stays low-cost because it relies on a single pot, a strainer, and a zip-top bag rather than any specialized equipment.
What follows covers the details that shape each stage of the process.
Simmering, Straining, and Freezing in Portions
When you’re ready to turn a bag of frozen veggie scraps into stock, start by dumping the contents into a pot, covering them with water two inches above the highest piece, and bringing it to a boil before lowering the heat to a gentle simmer.
Let it simmer 45‑60 minutes; that’s enough time to draw out flavor without turning delicate scraps bitter.
Lightly season or skip salt now, so you can adjust later.
After simmering, use a ladle to pull out the solids, then strain the liquid through a fine‑mesh sieve into a clean container.
Cool to room temperature, then portion‑freeze in 2‑cup bags or ice‑cube trays for easy grab‑and‑go use.
- Use onion skins, carrot tops, and celery ends for best flavor.
- Avoid brassica bits and starchy peels that can turn the stock bitter or cloudy.
- Store portions in airtight freezer bags, label with date, and keep headspace to prevent cracks.
The Few Tools That Make the Hack Effortless
After the stock’s simmered and strained, the only thing left to worry about is how you’ll keep the process smooth from start to finish.
You need just three things: a stock pot, a freezer container, and a simple strainer. The stock pot—6 to8 qt, heavy‑bottomed—holds the full bag of scraps and lets you simmer without hot spots. A sturdy freezer container, preferably a rigid plastic bin with a lid, keeps your frozen scraps flat and prevents leaks; it’s cheap but can be bulky in small freezers. A fine‑mesh strainer or colander lets you pour the liquid into a second pot or bowl in one motion, minimizing mess. Add a wide‑mouth funnel for decanting into jars, and you’ve got a low‑maintenance loop that fits any kitchen.
How to Build the Habit So It Actually Pays Off
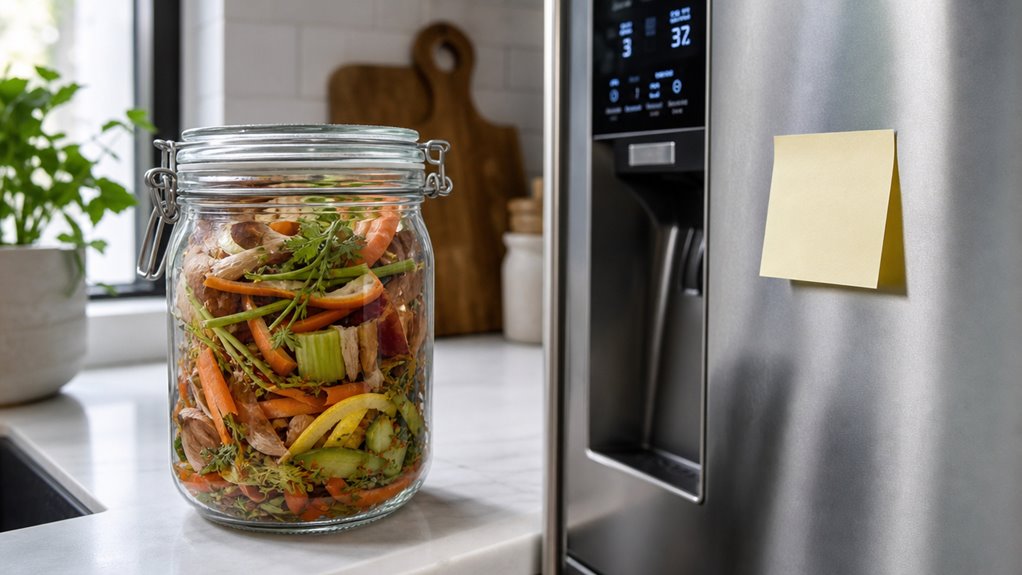
Building a scrap-stock habit pays off when the collection step costs no effort and the cooking step stays simple enough to repeat without planning.
A labeled freezer bag kept on the counter lets vegetable trimmings, such as onion skins, carrot tops, and celery ends, accumulate naturally during everyday prep, removing the need for a separate collection routine.
Once the bag holds around half a gallon of scraps, a short simmer of about an hour, followed by straining, produces usable stock from material that would otherwise go to waste.
Portioning and freezing the finished stock extends its value further, turning a low-cost process into a steady supply of ready-to-use flavor.
The details that determine whether this loop holds together long-term are worth examining closely.
Collecting Scraps Without Extra Work
Usually the easiest way to start saving scraps is to make the catcher a permanent part of your prep zone, not an after‑thought.
Place a countertop scrap bowl right next to your cutting board; it’s open‑top, lightweight, and sits on your dominant‑hand side, so you slide skins, tops, and stems into it without pausing.
When you finish cooking, pour the bowl’s contents into a clear container that lives in your freezer zone. The transparent bag shows volume grow, nudging you to fill it before you simmer.
Pair this move with your dish‑washing routine. Empty the bowl into the freezer bag while you clean dishes, and the habit sticks without extra steps.
- Use a wide‑mouth, clear container for visible progress.
- Keep the bowl at eye level to reduce forgetfulness.
- Link transfer to the moment you turn on the stove for a natural cue.
Matching the Frugal Stock Habit to the Under-$30 Ceiling
You’ve already got the bowl on the counter and the freezer bag filling up, so the next step is to tie the simmer to a regular, low‑effort routine that stays under a $30 monthly budget. Stack the habit onto a batch‑cooking day: when you’re already chopping veggies, toss celery ends and other approved scraps into the bag. Once a week, set a 60‑minute timer, simmer, strain, and freeze portions. Track the money you’d have spent on boxed broth; you’ll see the cost stay well under the ceiling while the time investment stays under fifteen active minutes per batch.
| Day | Action | Time |
|---|---|---|
| Monday | Fill bag with scraps (celery ends, onion skins) | 5 min |
| Wednesday | Simmer full bag, strain, portion | 10 min |
| Friday | Freeze portions, label | 5 min |
| Sunday | Use stock in soups or sauces | 0 min |
Frequently Asked Questions
Can I Add Herbs or Spices for Extra Flavor?
Yes, you can toss in whole herbs or spices, such as bay leaves, peppercorns, thyme, or parsley, at the start of simmering for deeper flavor, but keep them modest and strain them out before freezing.
How Long Can Frozen Stock Bags Stay Good?
You can keep frozen stock bags good for three to six months for best flavor, though they stay safe indefinitely. Use heavy‑duty or vacuum‑sealed bags, label dates, and store at 0°F to preserve quality.
Do I Need to Strain the Stock Before Freezing?
Yes, strain it first. Remove bones, veggies, and herbs so the liquid stays clear, freezes evenly, and avoids off‑flavors. A simple colander works; fine‑mesh is optional if you want crystal‑clear broth.
What’s the Best Pot Size for a Full Freezer Bag?
You’ll love the 6‑quart pot: big enough for a full freezer bag, yet not so massive you’re simmering a lake. It gives space, headroom, and a perfect stage for your frugal, flavor‑rich stock.
Can I Reuse the Same Bag for Multiple Batches?
Yes, you can reuse the same bag, but wash it thoroughly between batches, retire it when it shows cracks or odor, and avoid re‑boiling spent scraps, since fresh scraps give the best flavor and safety.
Conclusion
You’ve turned kitchen waste into a pantry staple without spending a dime. The stock stores neatly, lasts months, and lets you control salt and additives, with no hidden sodium or mystery flavors. It’s a simple habit: toss scraps in a bag, simmer, strain, and freeze. Over time the savings add up, and the flavor depth you get beats the boxed version every time. Just remember the broth can get cloudy if you over‑cook the veggies, but a quick skim solves that. This small change pays off, day after day.

Michael Haralson is an author, analyst, and founder of MHaralson, a publishing company. He spent five years with a San Diego catering company, cooking for events of up to 600 guests and working part-time in the main kitchen. He writes about the balance between kitchen tools that cost too much and those that fail too soon.